Master Bedroom Home Renovation | Our Nashville Home Renovation | Farmhouse Master Suite
December 6, 2018
published on
filed under

If you know me, you know my husband and I purchased a fixer upper home 3.5 years ago just north of Nashville, TN. By that I mean, my husband put in an offer on this house before I got to see it because he saw the potential. I about died.
When I say “fixer upper” I’m talking Chip and Joanna, Property Brothers level fixer upper. This house was unlivable for the first 6 months we owned it. Family and friends helped us as we poured endless hours into renovating this into our first home. Load bearing walls came down, we installed a new kitchen, refinished hardwood floors…you name it, it probably was done.
Last August, we found out we were expecting again! And then we realized we needed to double time on renovating the final room in our home. It took us around 10 months, a few jackhammer rentals, and more weekends manning kiddos alone than I could count.
And, yes, you read that right. Y’all, I was 6 months pregnant, drinking coffee on the couch while a JACKHAMMER was grinding away at the concrete in the next room over! It was loud. And obnoxious. But hallelujah we didn’t have to pay someone to do it for us!
I scoured the Facebook Marketplace, Craigslist, liquidation stores, you name it, to find deals and ways to save while we built this room. I mean, we had a baby coming, too, I had to save money where I could.
The Reno Process
The room we renovated was initially a second living/den area. Except it was right beside our living room and having two living rooms beside each other just didn’t make sense to us. For several years, this room was used as storage and the occasional house guest slept there. When the house was built in the 1960’s this room was the garage. Crazy, right?!
The area above the room was our attic space. However, the ceiling in there was crazy low and weirdly boxed around the windows. And living in a house that’s fairly small with only a few storage options, I value my attic space. It’s so needed. There was also a backdoor leading out to the carport, and a huge window on the wall, as well. We closed those up and turned the door into a lovely window that’s now the one beside our bed!
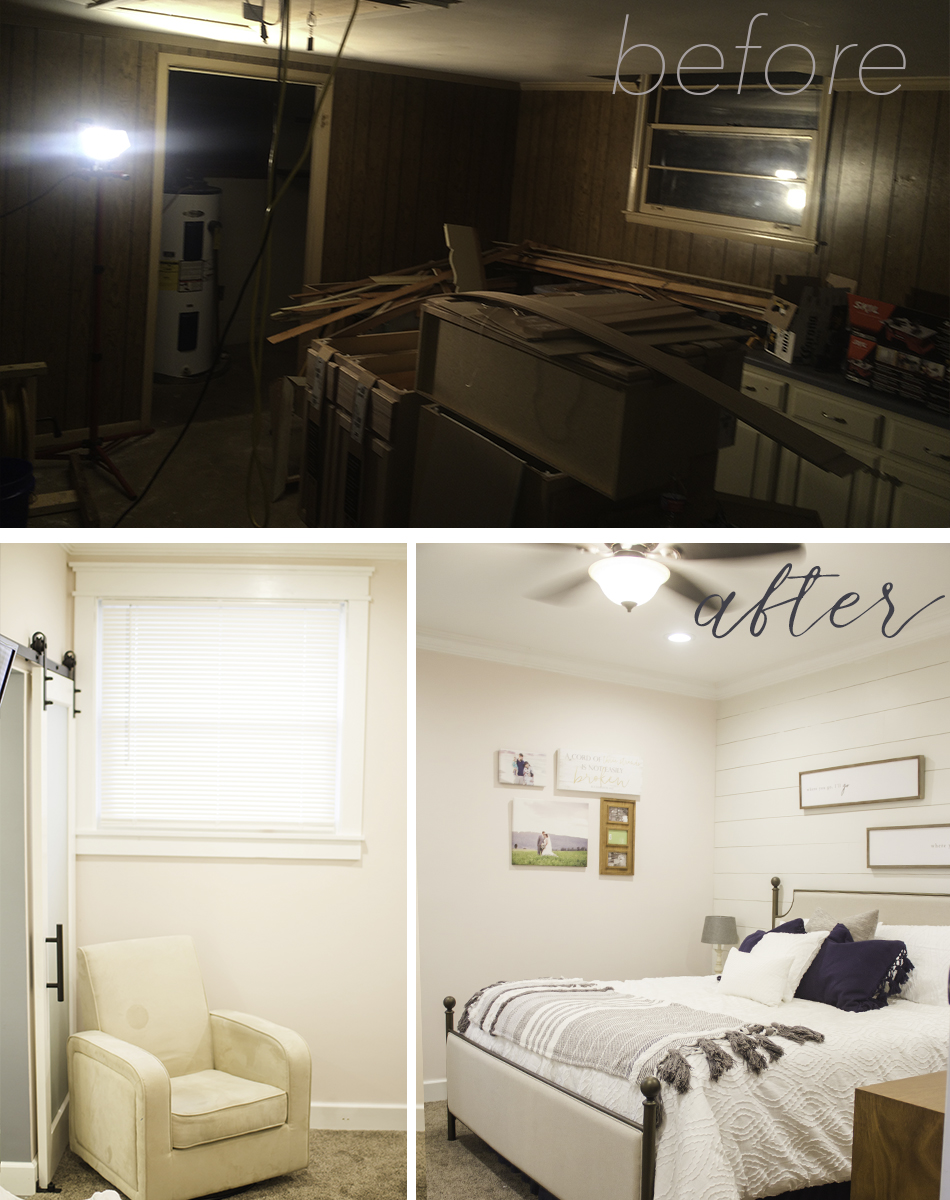

Our first order of business was to raise the ceiling in what would be the bedroom portion, which essentially meant losing about half of my attic storage space. SAY WHAT. Yeah, wasn’t my favorite option, but there’s still enough space there for thin storage containers to sit, so it’s not a total wash. They also had to move the attic door opening into what would be our walk-in closet.
After that we relocated the hot water heater to the crawl space under our house. Then, Atom and his dad got to work figuring out how to build a bathroom (plumbing and all) into the solid concrete floor. This took the longest amount of time. Who knew building a bathroom is hard? And time consuming? Jackhammer rentals, mixing concrete out back, laying new plumbing lines, they did it all! Next, they had to run the electrical and the vents/air ducts. Then it was time to drywall.
The Finishing Touches
When you’re 8+ months pregnant, it’s probably not the best idea to get on a ladder and paint your bedroom. So, unlike with the rest of our house, we hired a couple of contractors for this room. One was an amazing tile guy to come in and tile our bathroom. The other was an excellent drywall finisher and painter. We were on a time crunch, both working full time, and had a baby making his debut in less than 6 weeks! AH.
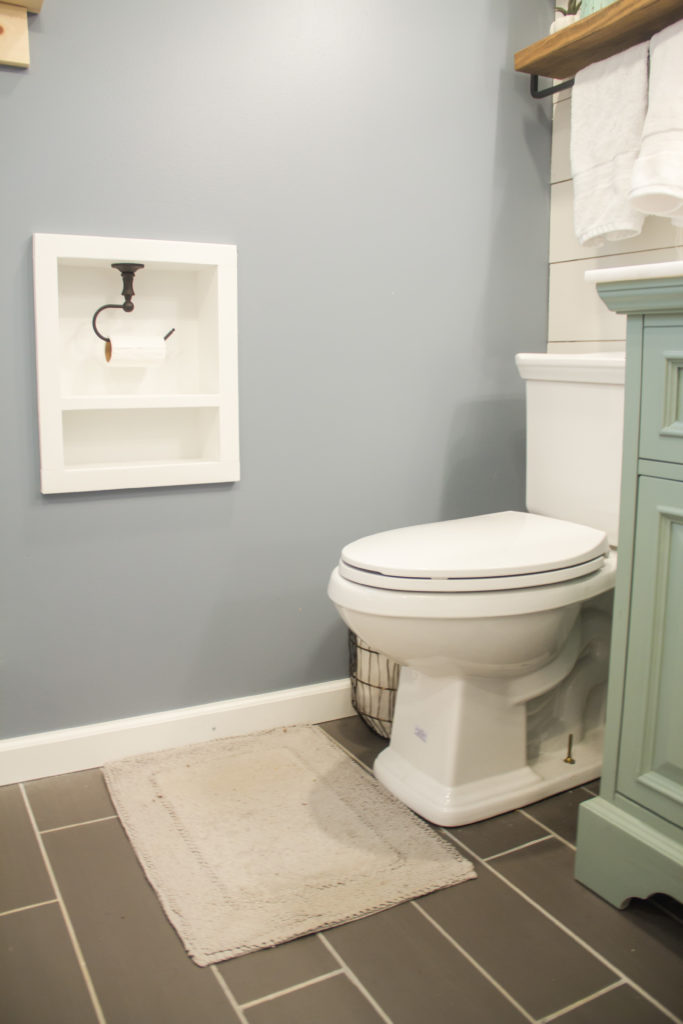
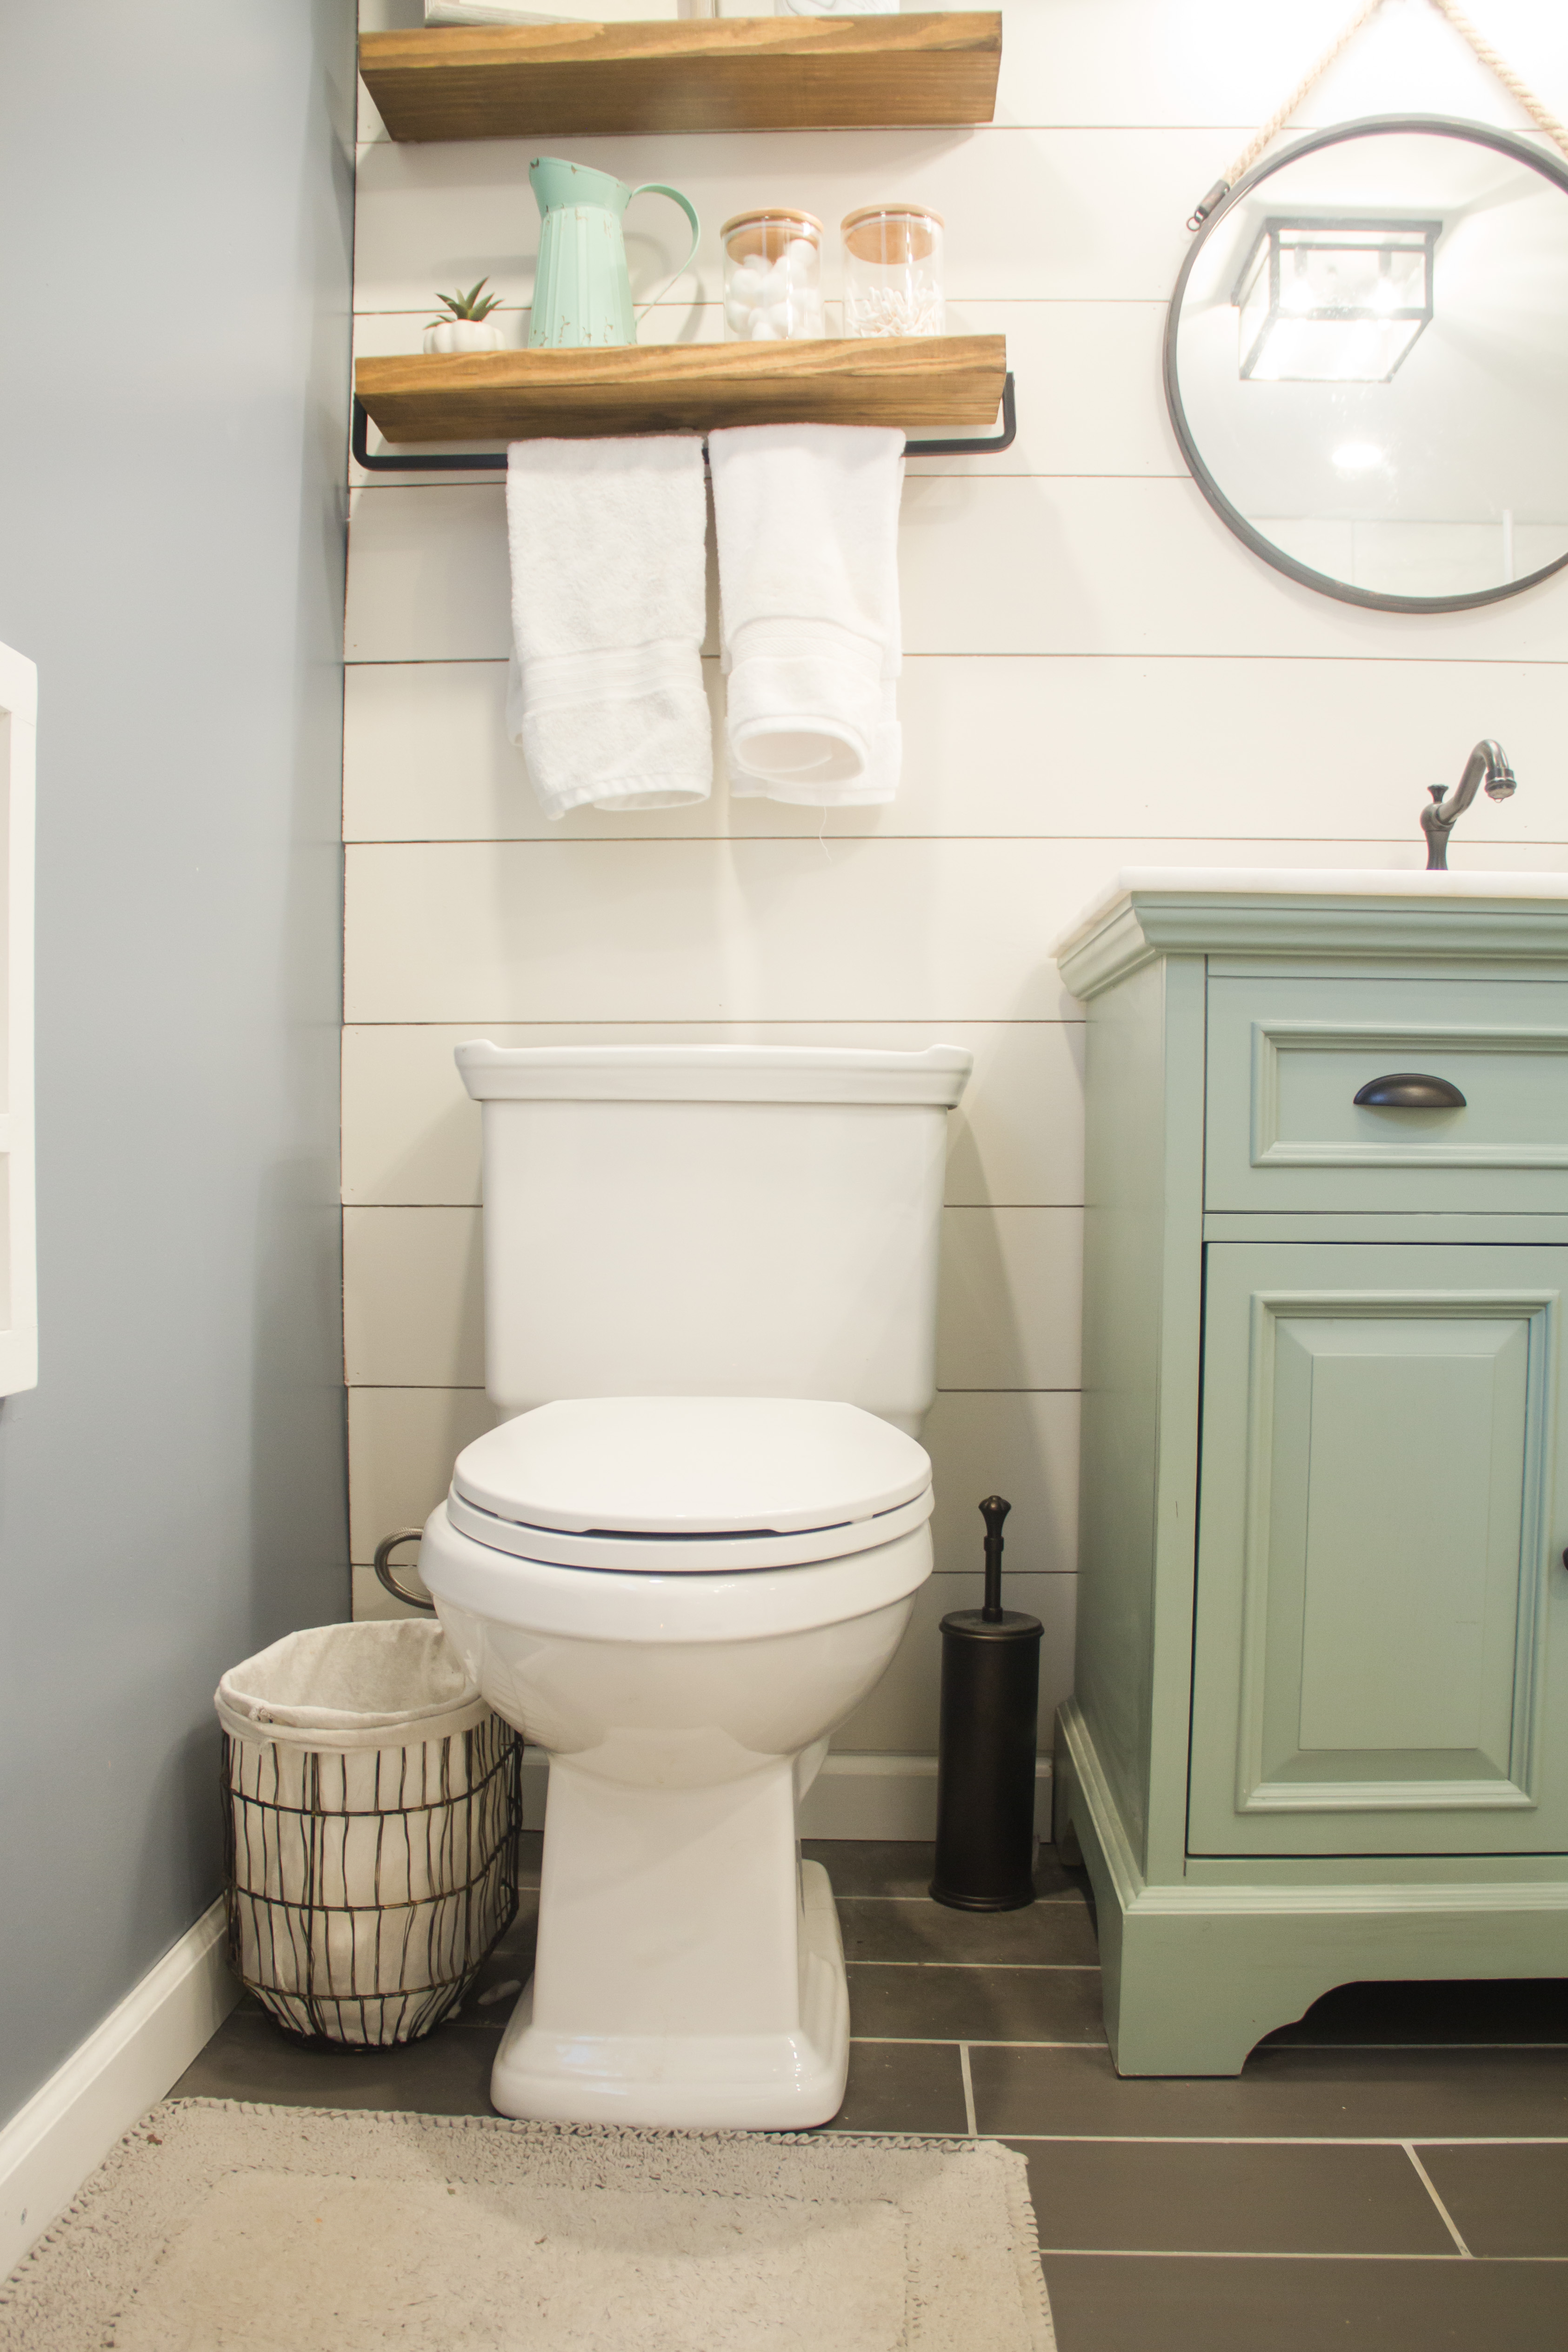
This is also when I hopped on Pinterest and found some of the minor details that I just HAD to have added in our bedroom. Because of the tight space around the toilet, I wanted to have the toilet paper roll inset into the wall. This took Atom a couple of tries building to get just right, but I love it. It even has storage for two more double sized rolls below!
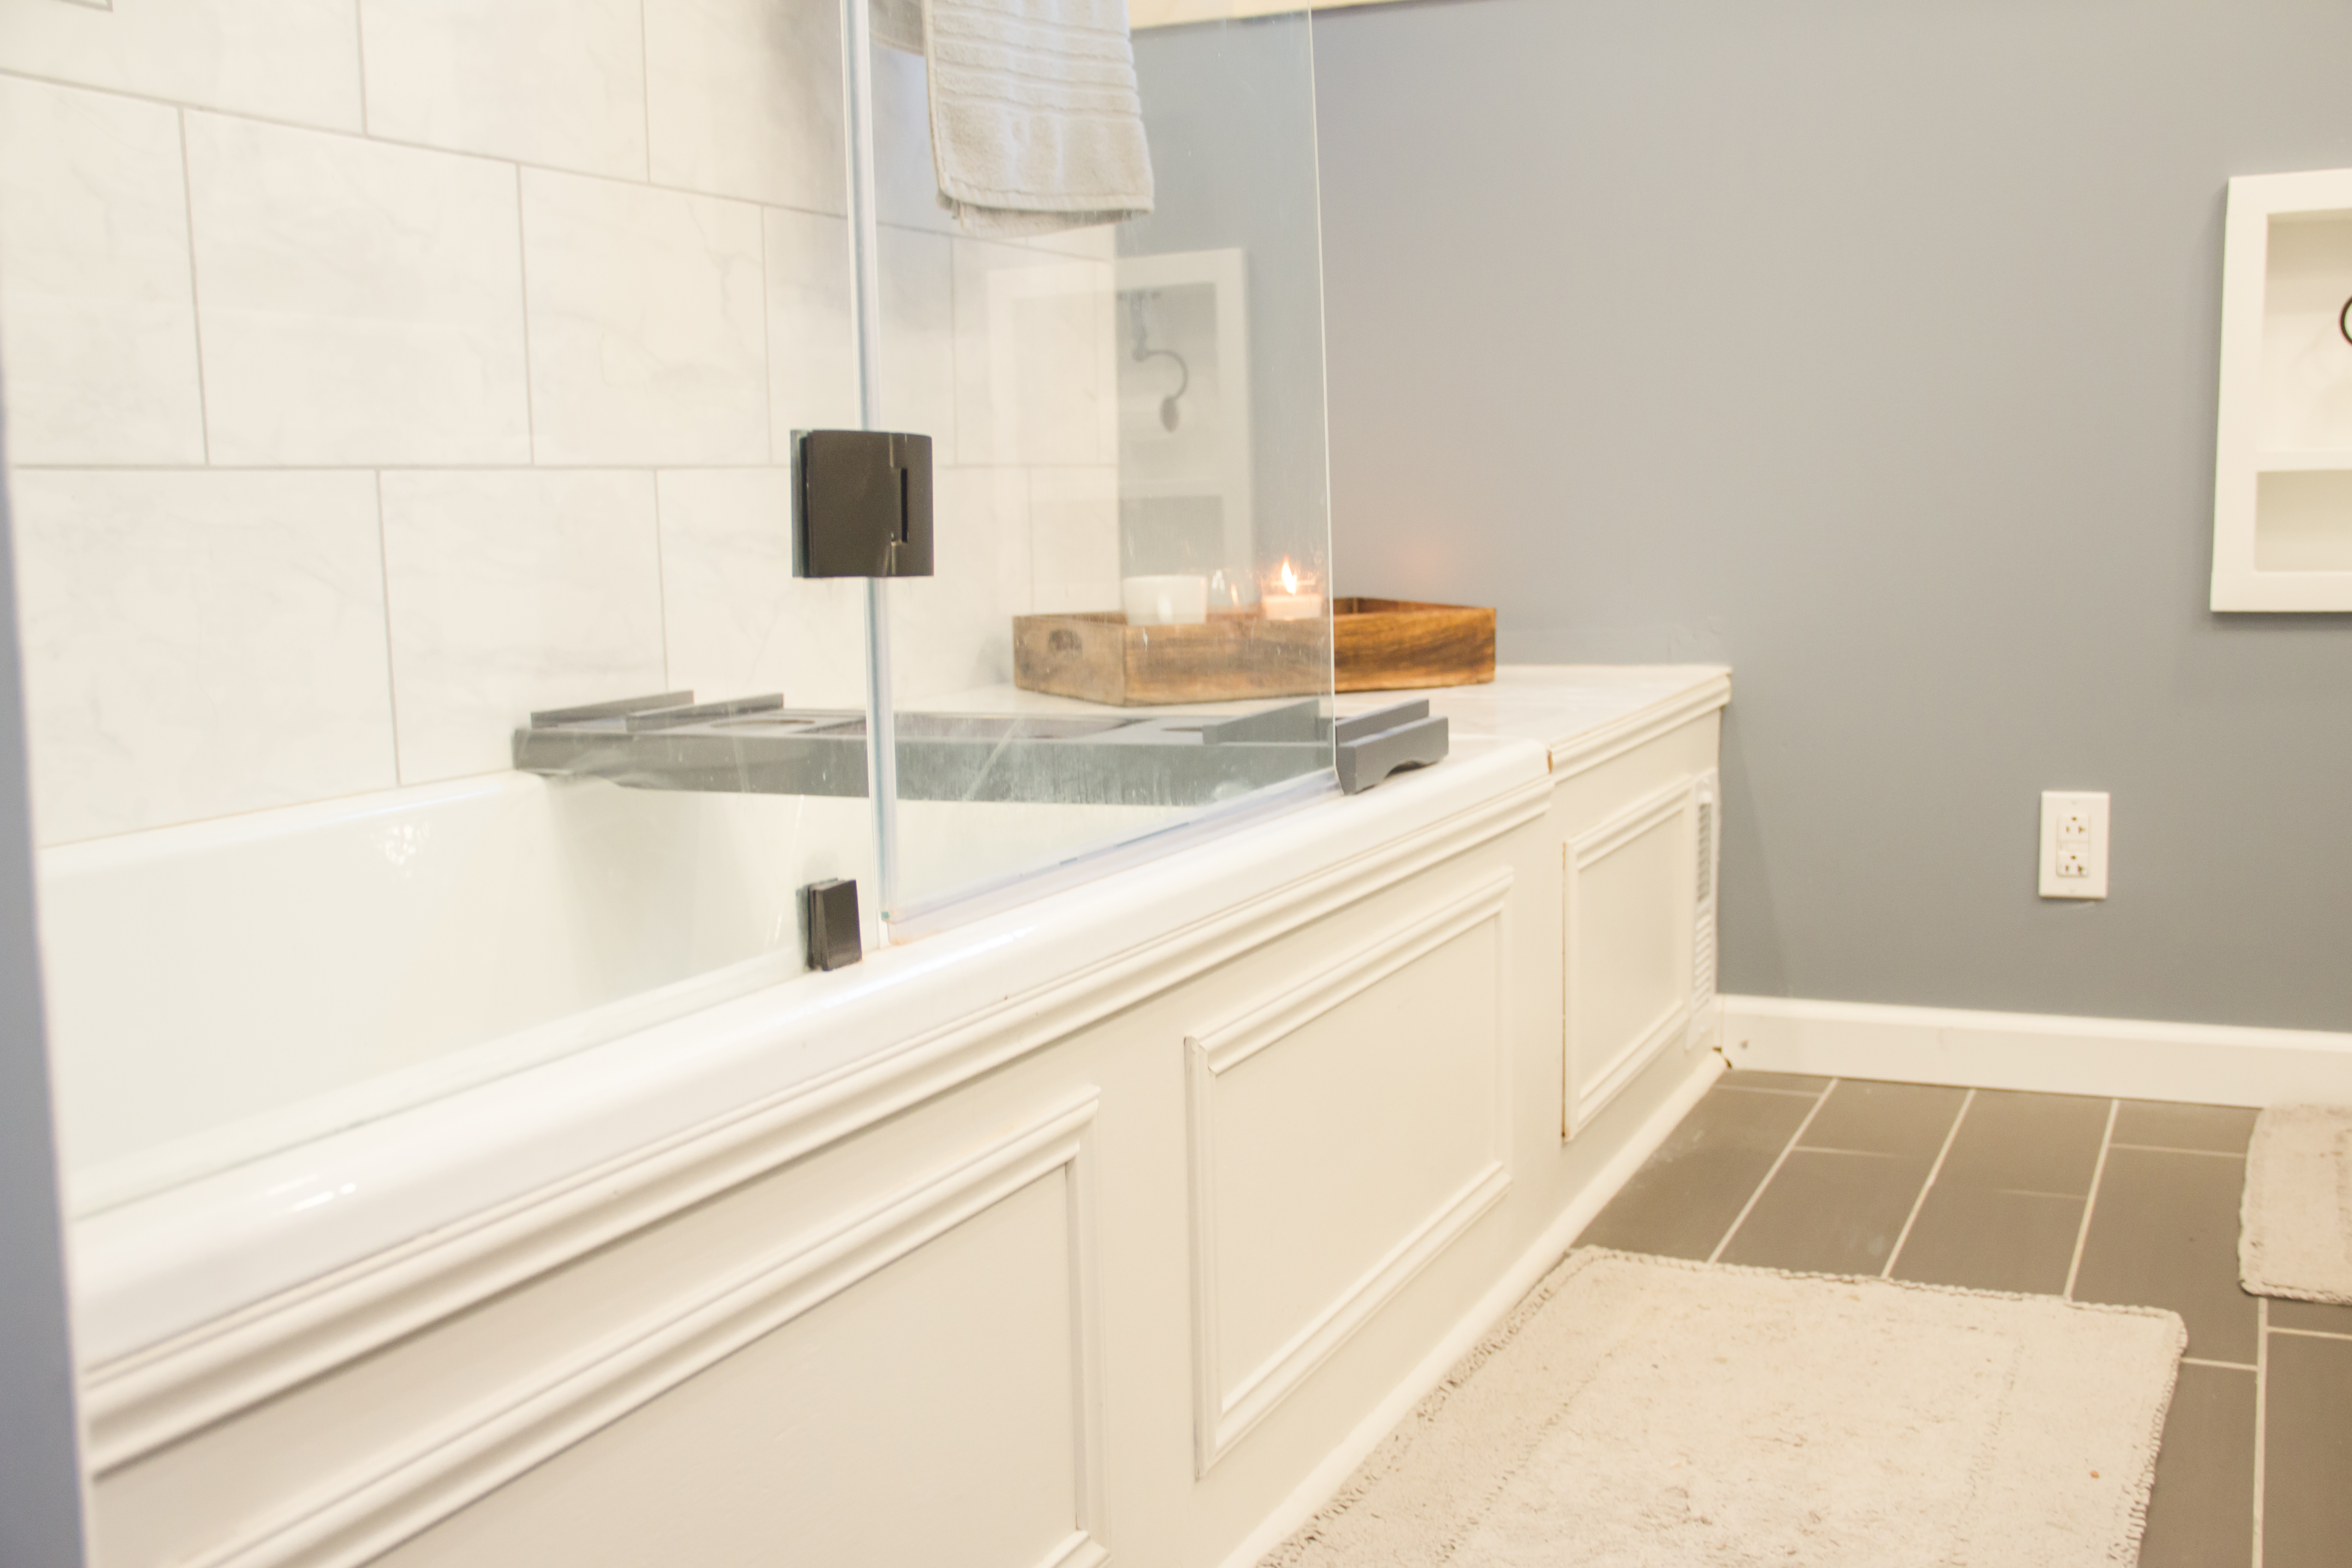
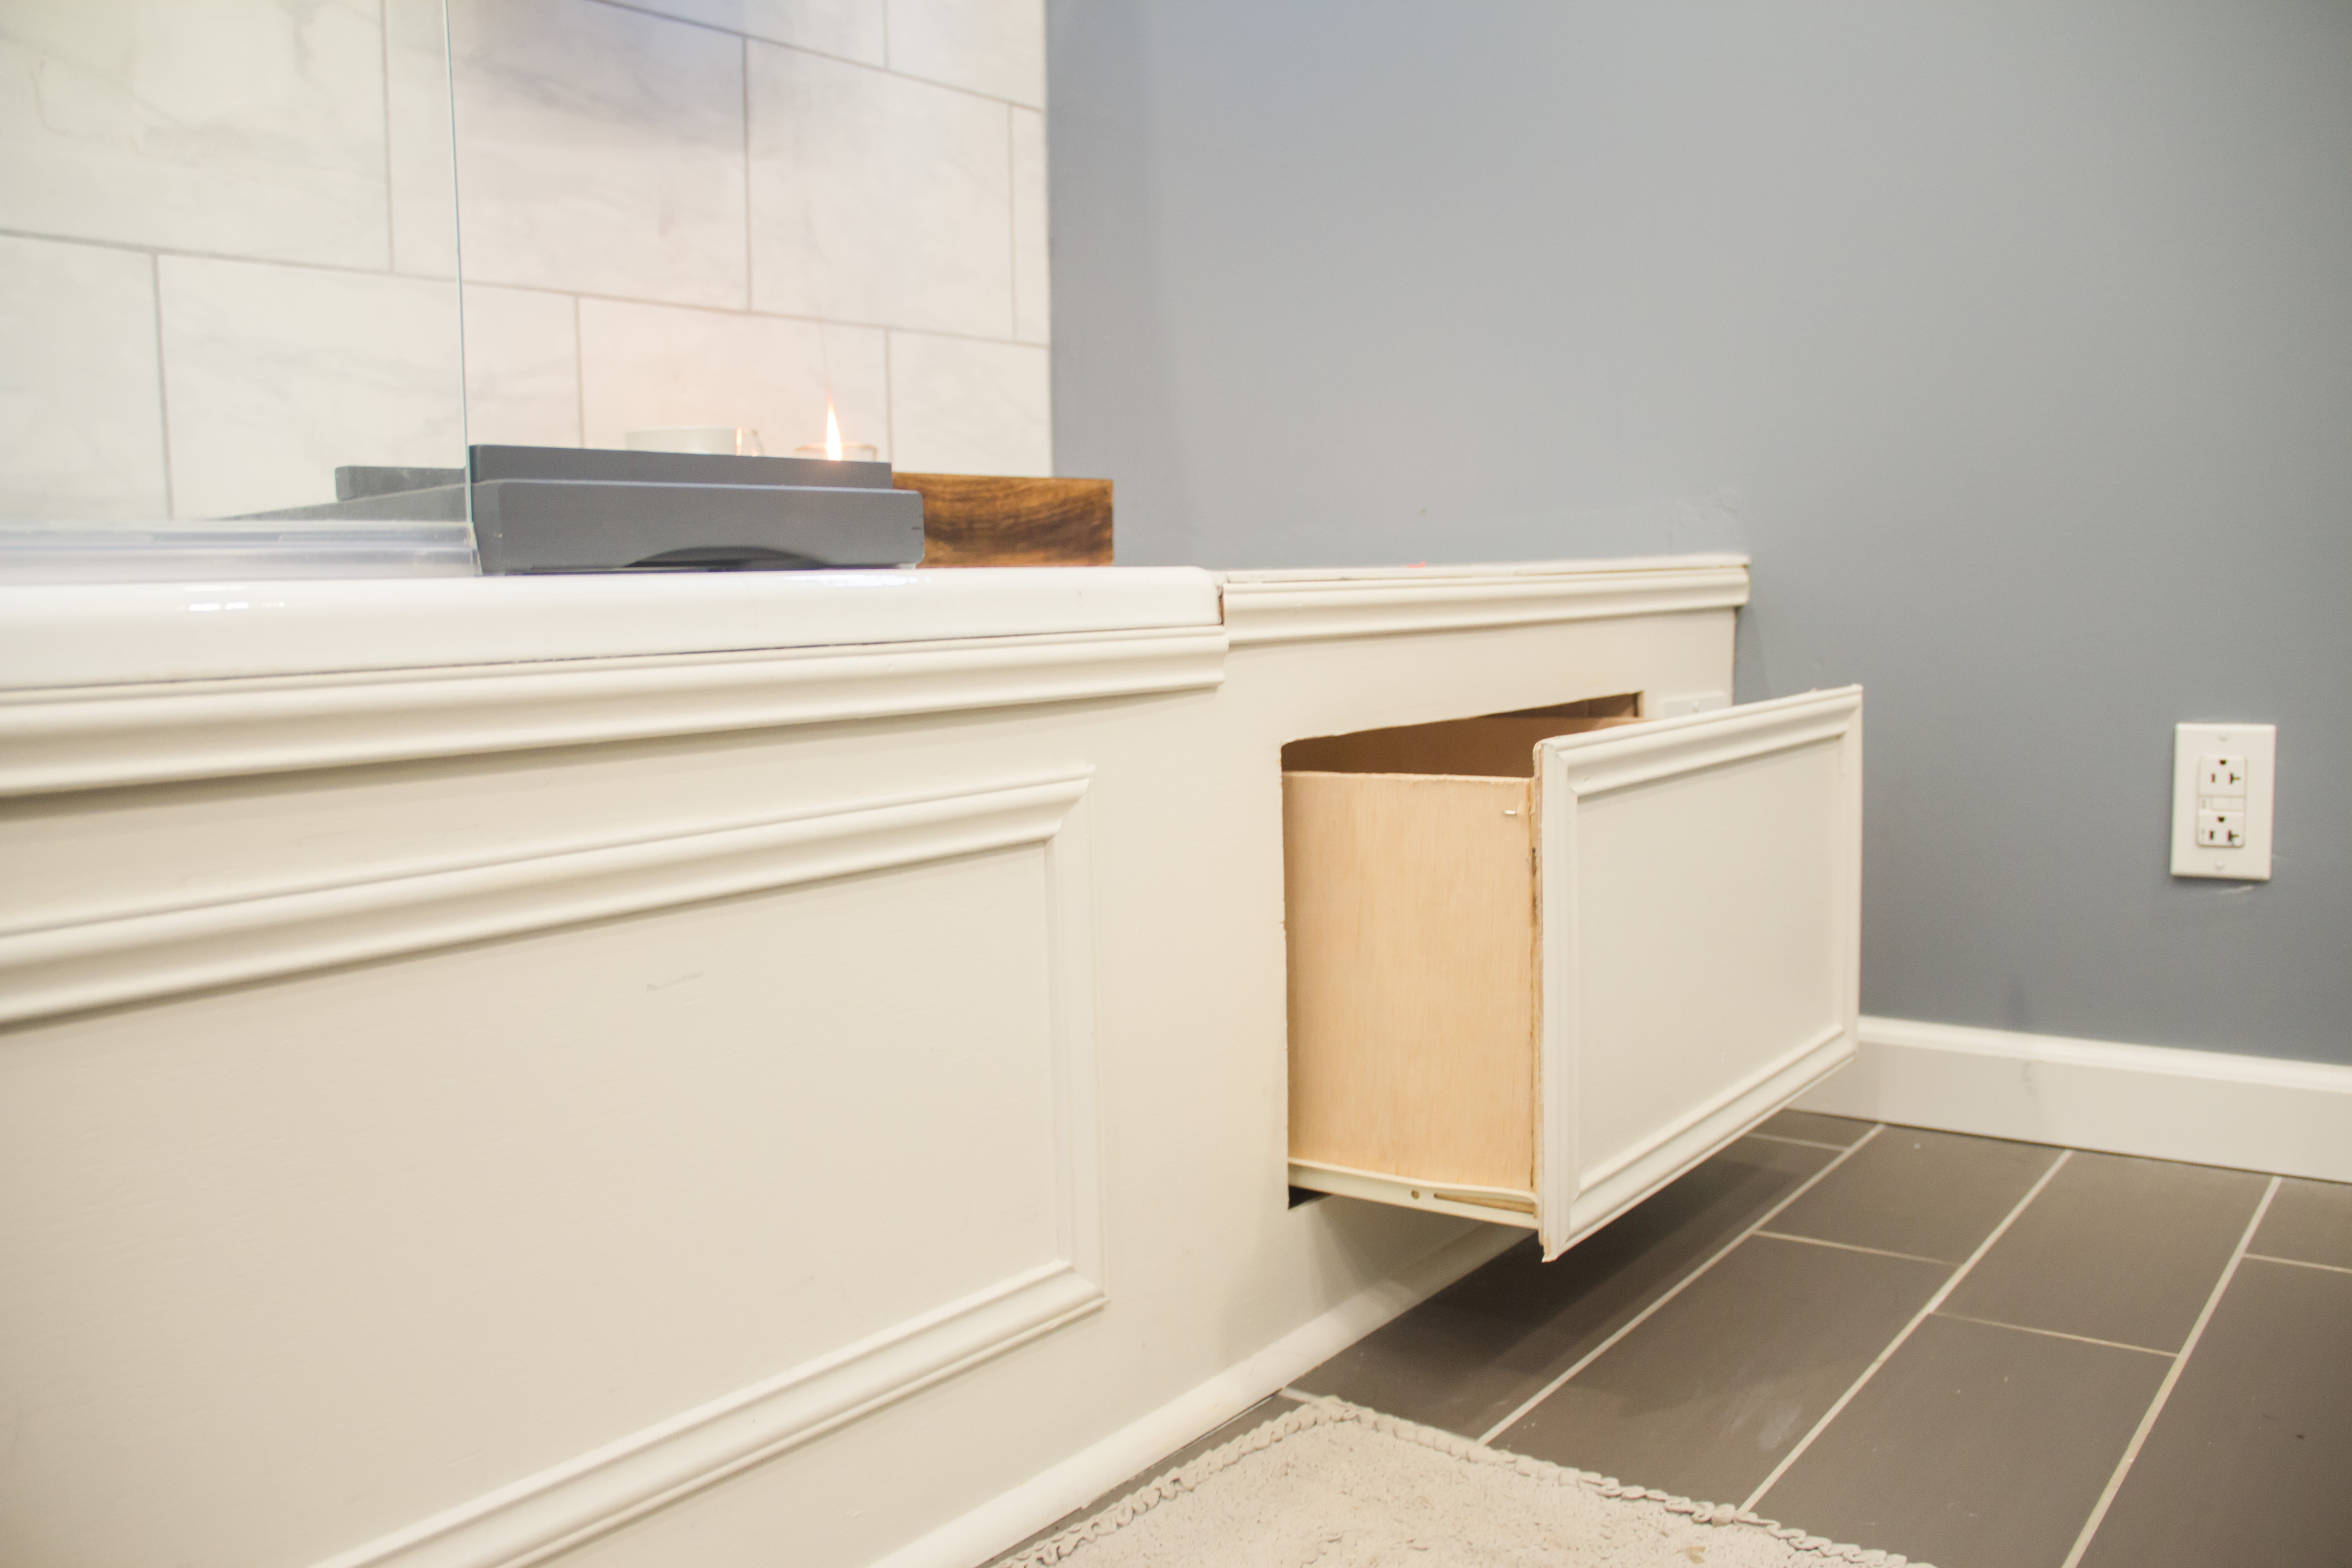
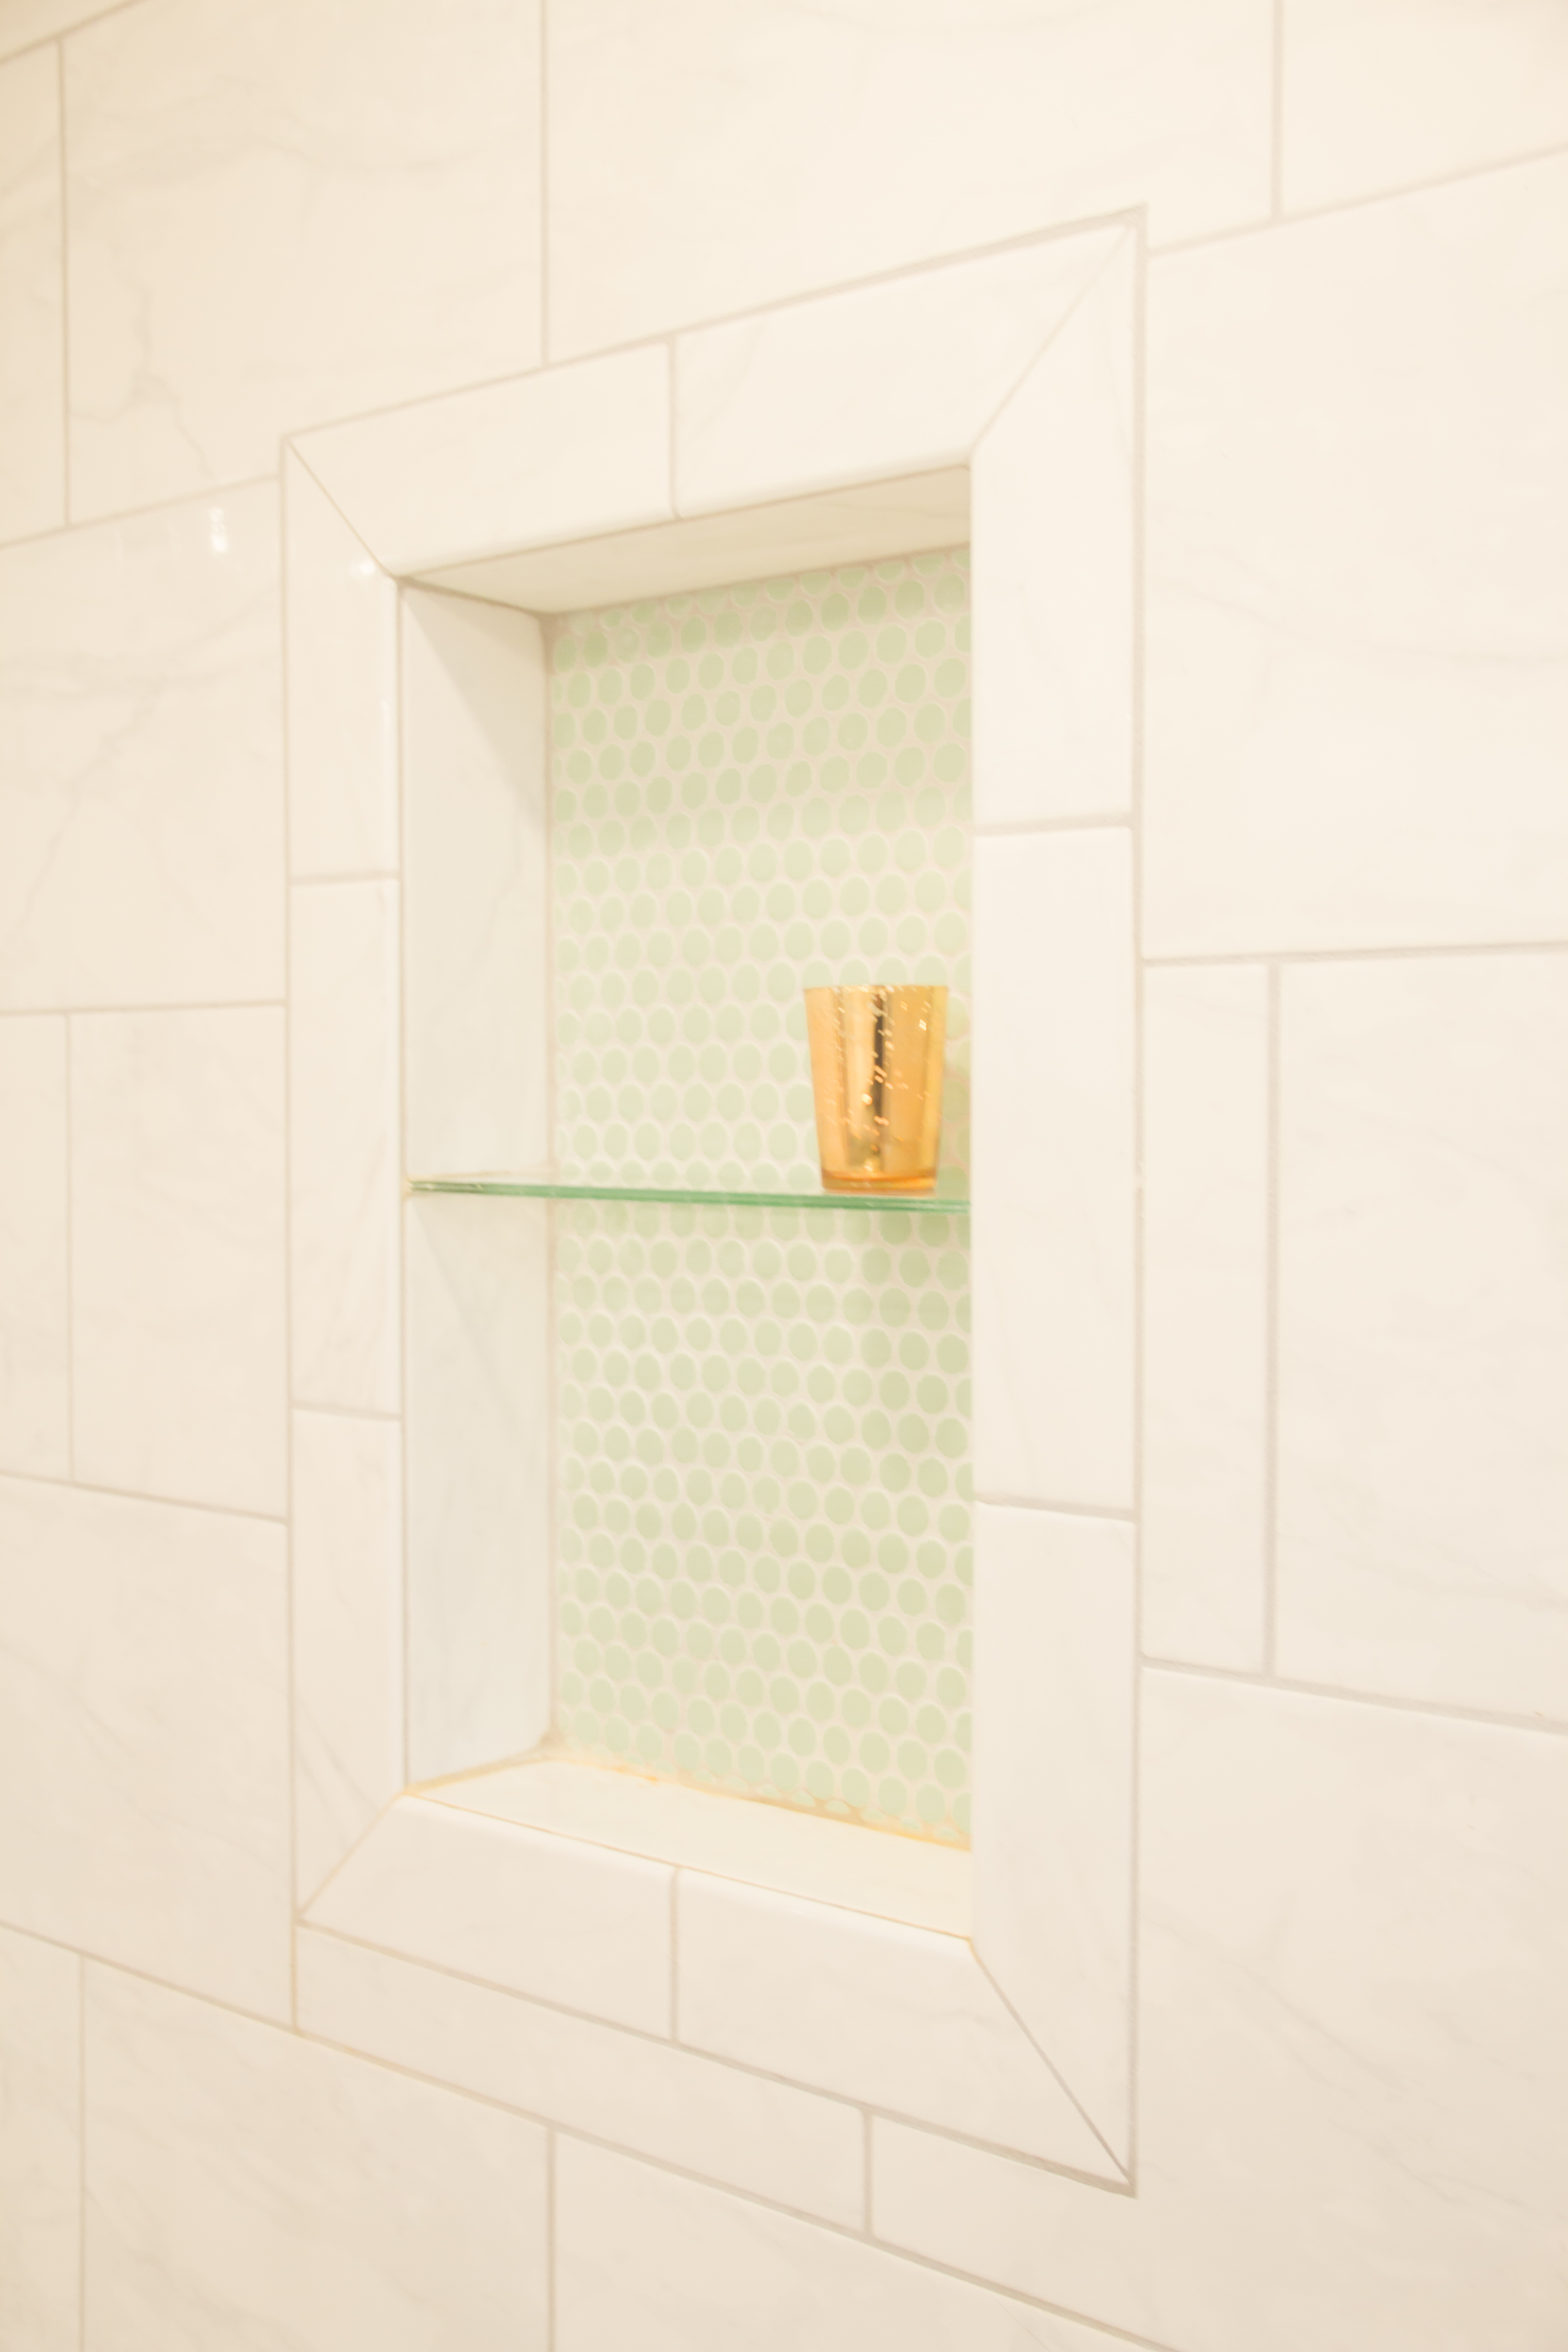
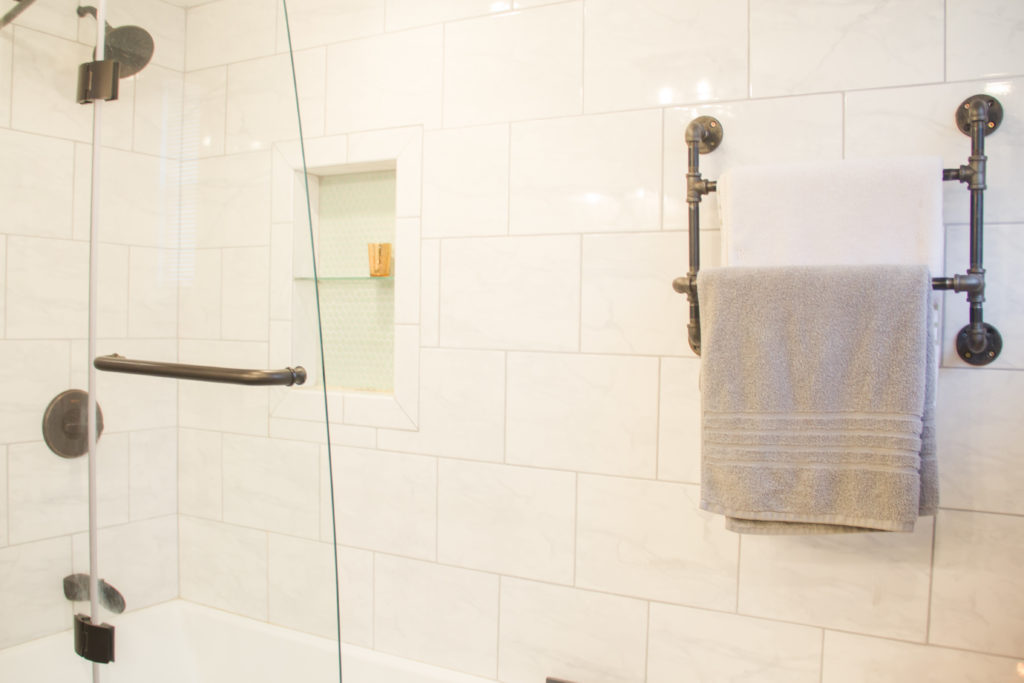
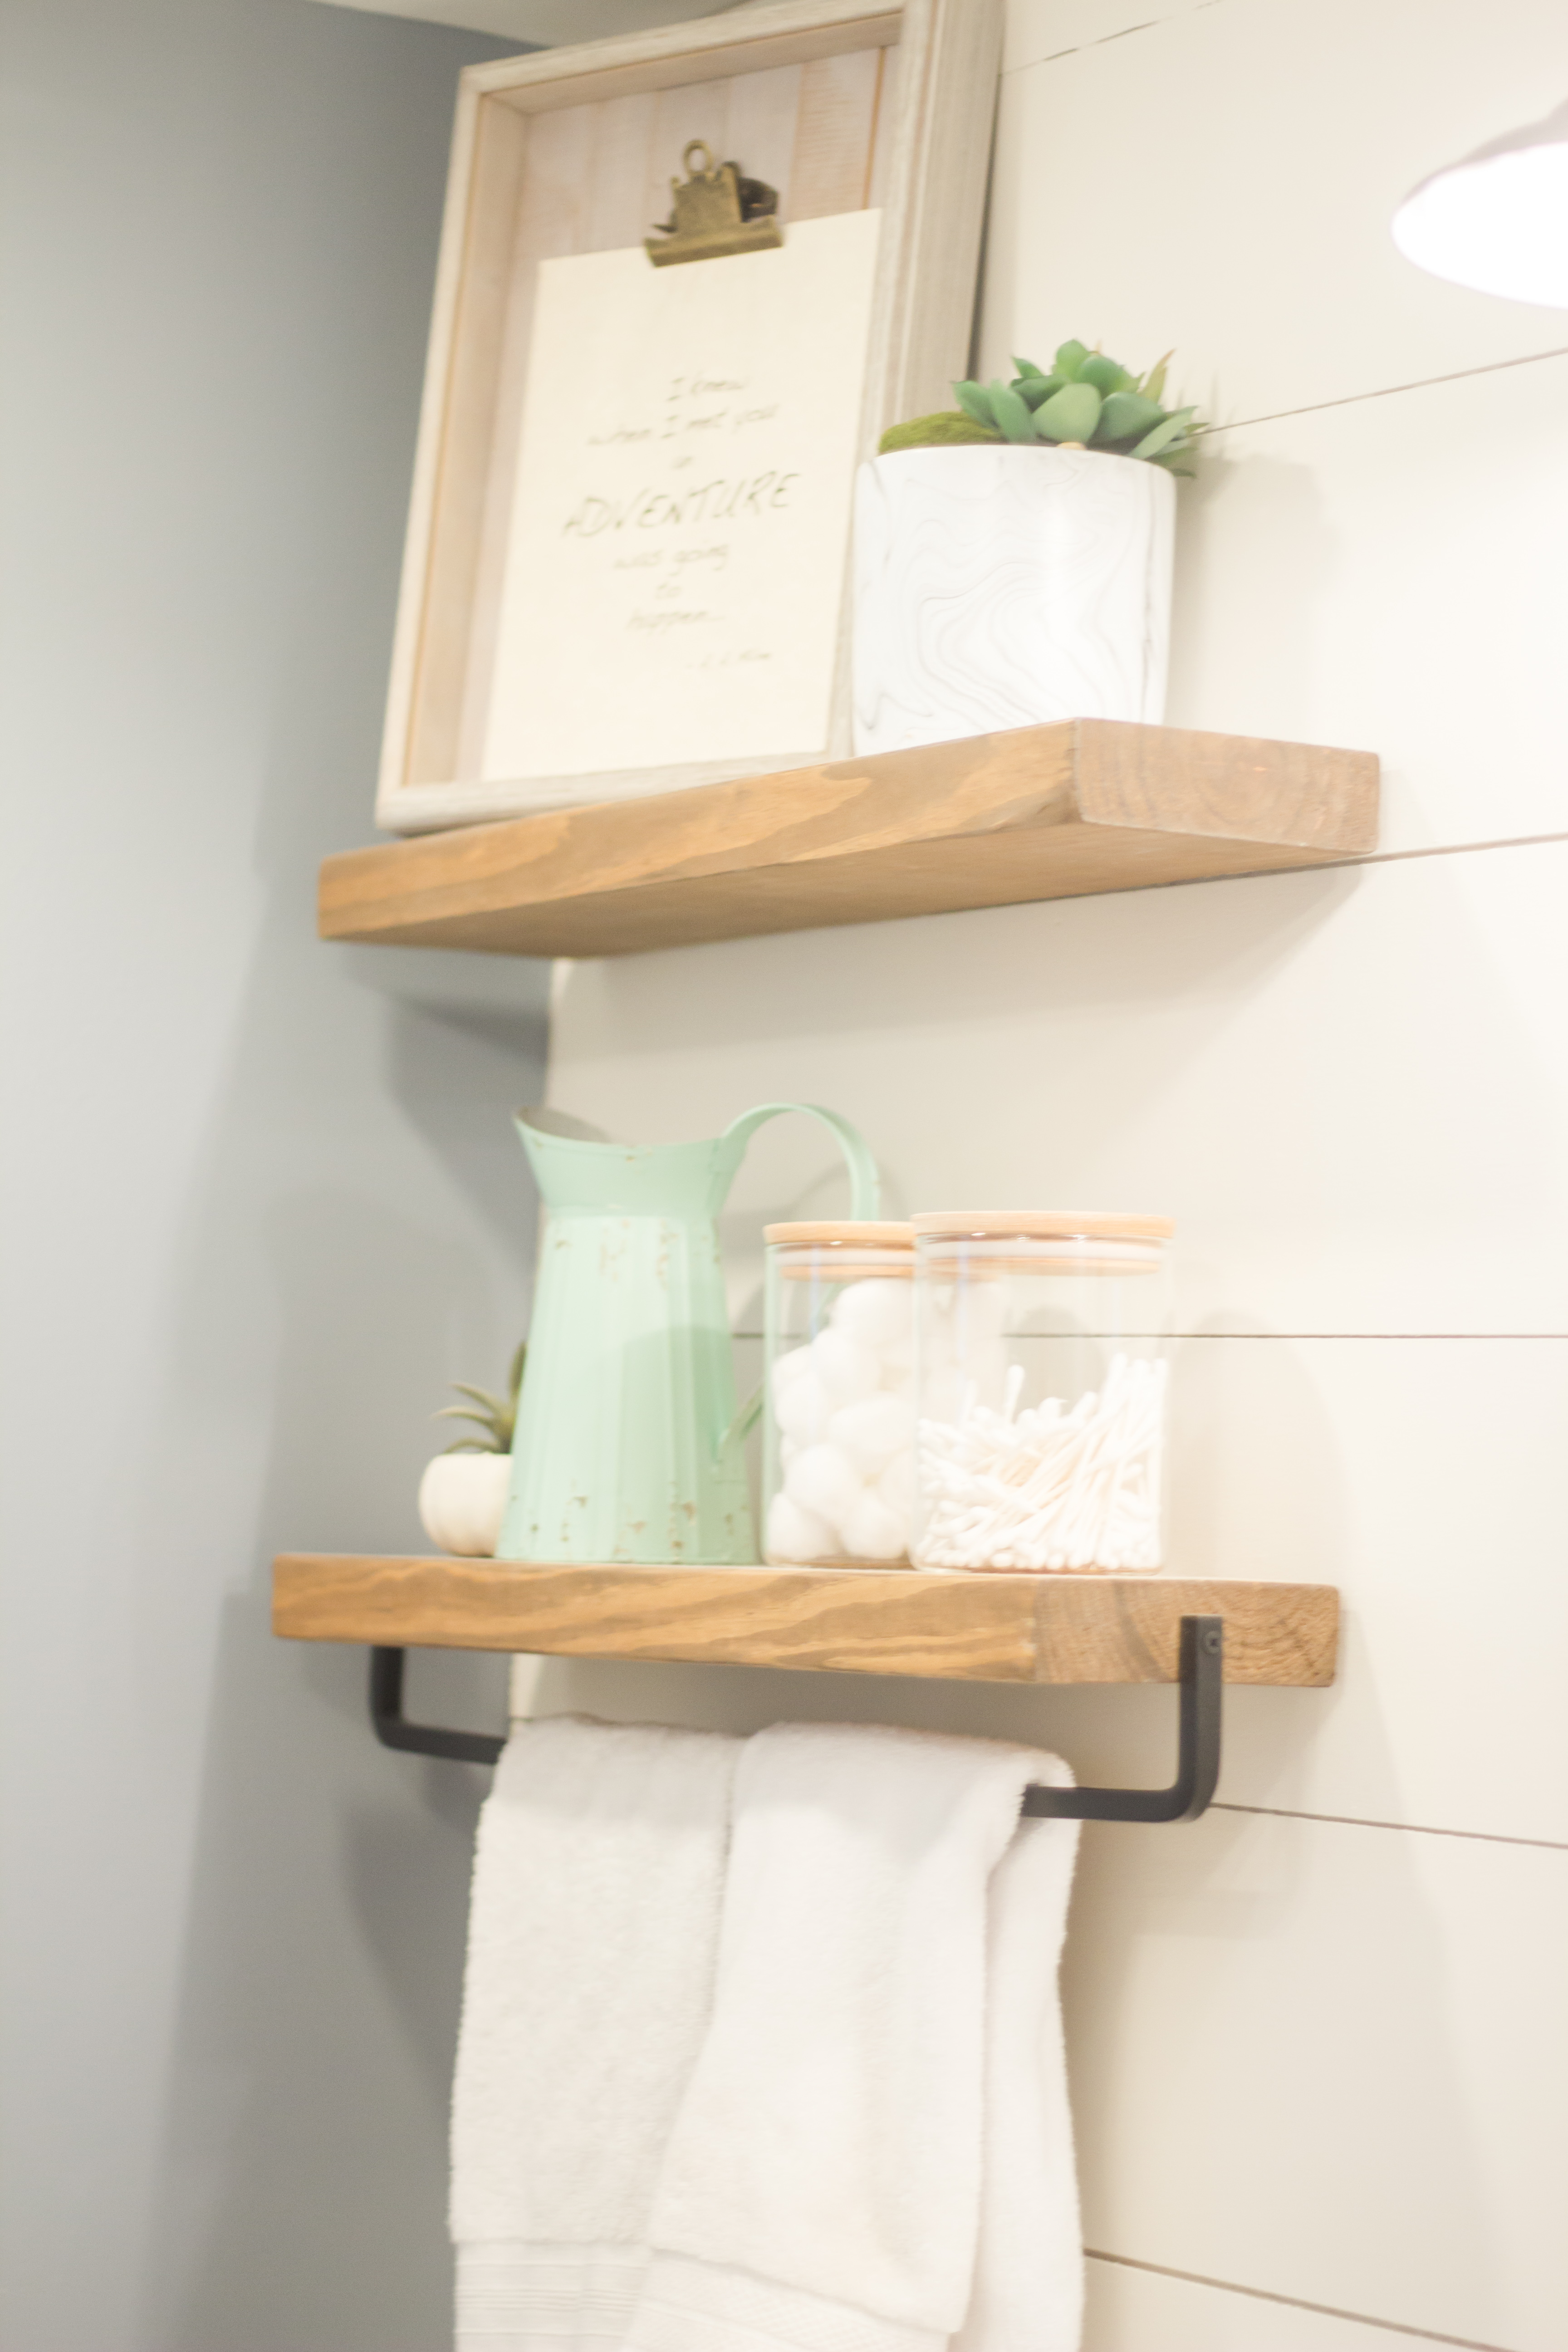
Secondly, I’m all about storage in this house that has not much. We had a bit of a space by the back of the tub, so I had our tile guy also build a hidden drawer that you can pull out for laundry or towel storage! How cool is that!
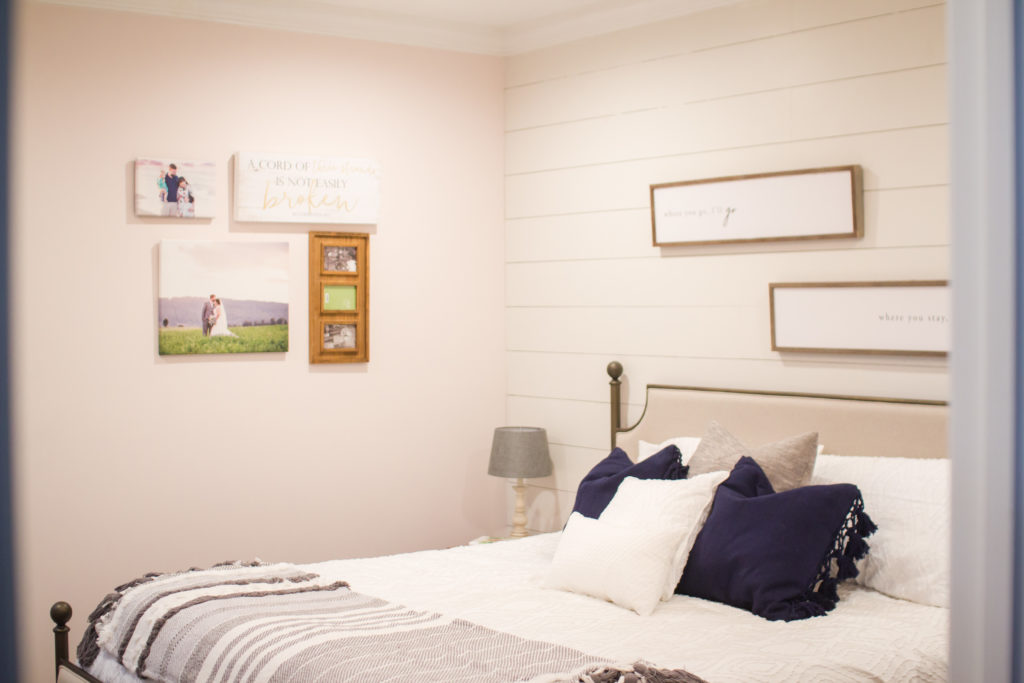
We did it. My husband, with help from his dad, and some help from my own dad and my bonus father in law (while I was in the hospital having Myles!). They created the most beautiful master bedroom suite I could’ve imagined. I am so in love with
Now for the good stuff…
How We Saved BIG Money
This is probably the question I get asked most when it comes to our home remodel. How did we afford to do it? Well, step 1 is marrying a handy man. And hopefully handy man comes with handy father-in-law. BONUS! In all seriousness, they’ve been the biggest money savers throughout it all!
It also helps that I LOVE finding good deals. I mean, I somehow find killer ones. Ones that my parents are like, ‘only you’. They’ve saved us a boatload (hello new fridge, new sectional sofa, you get it..)
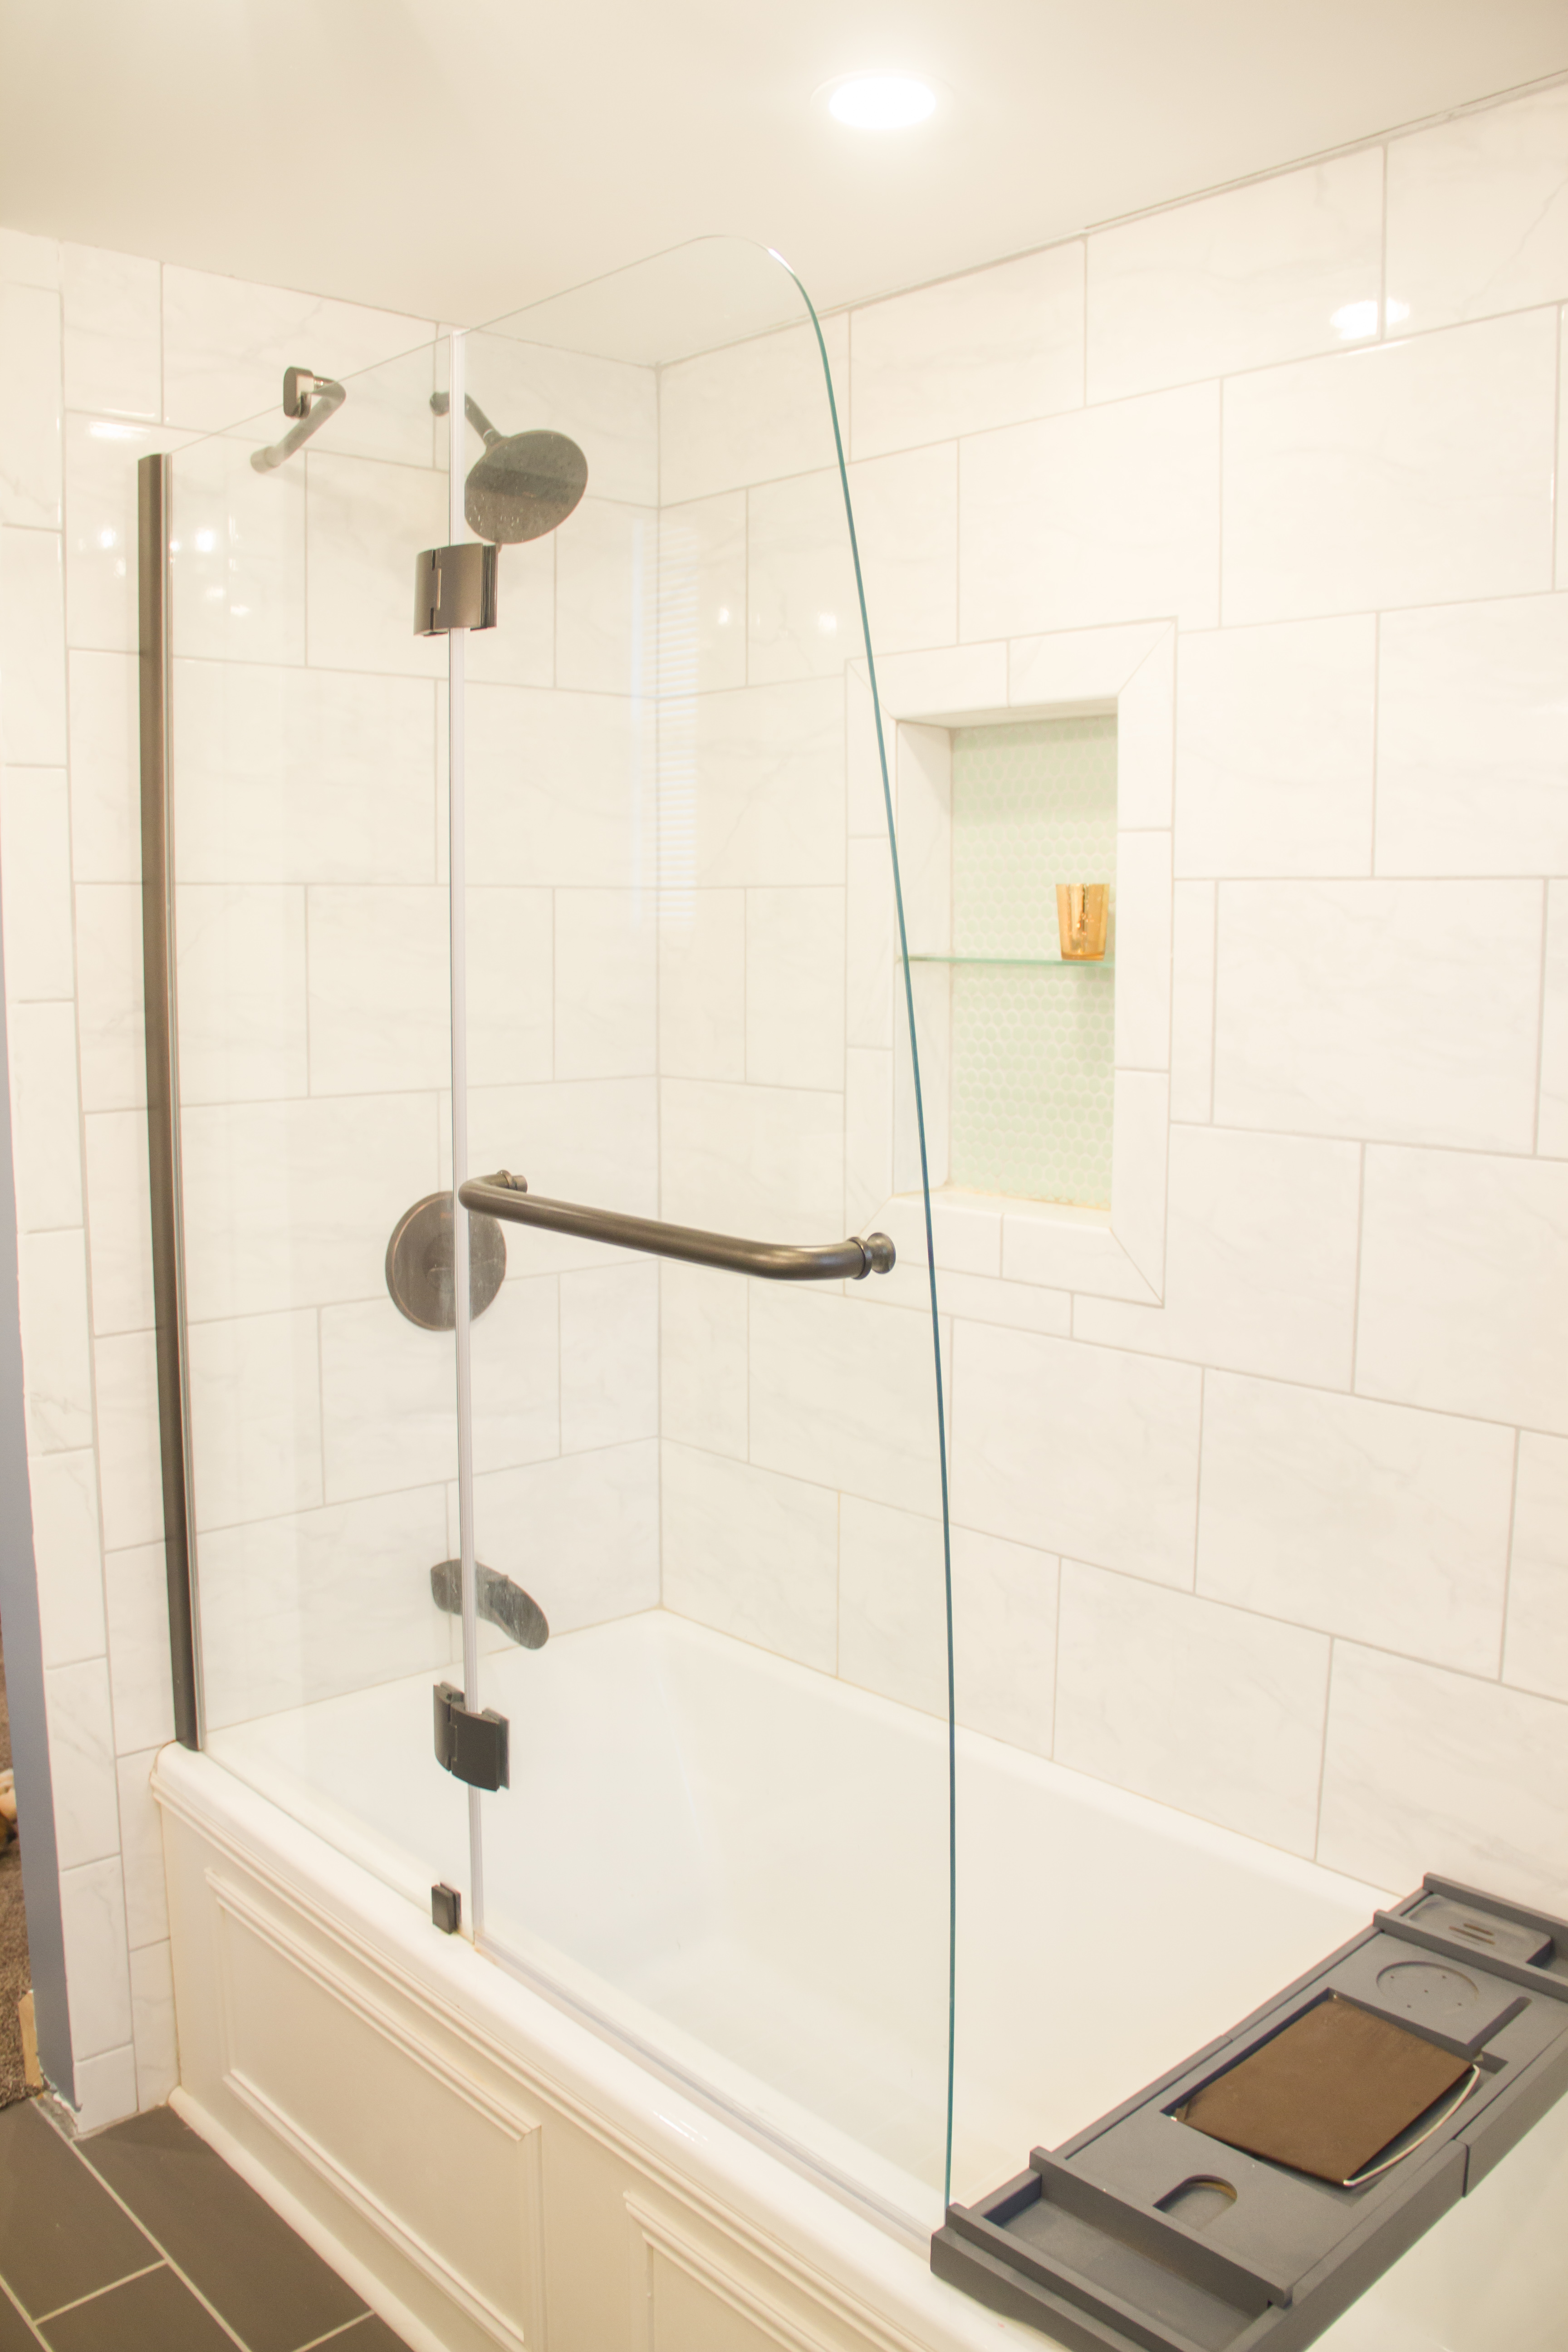
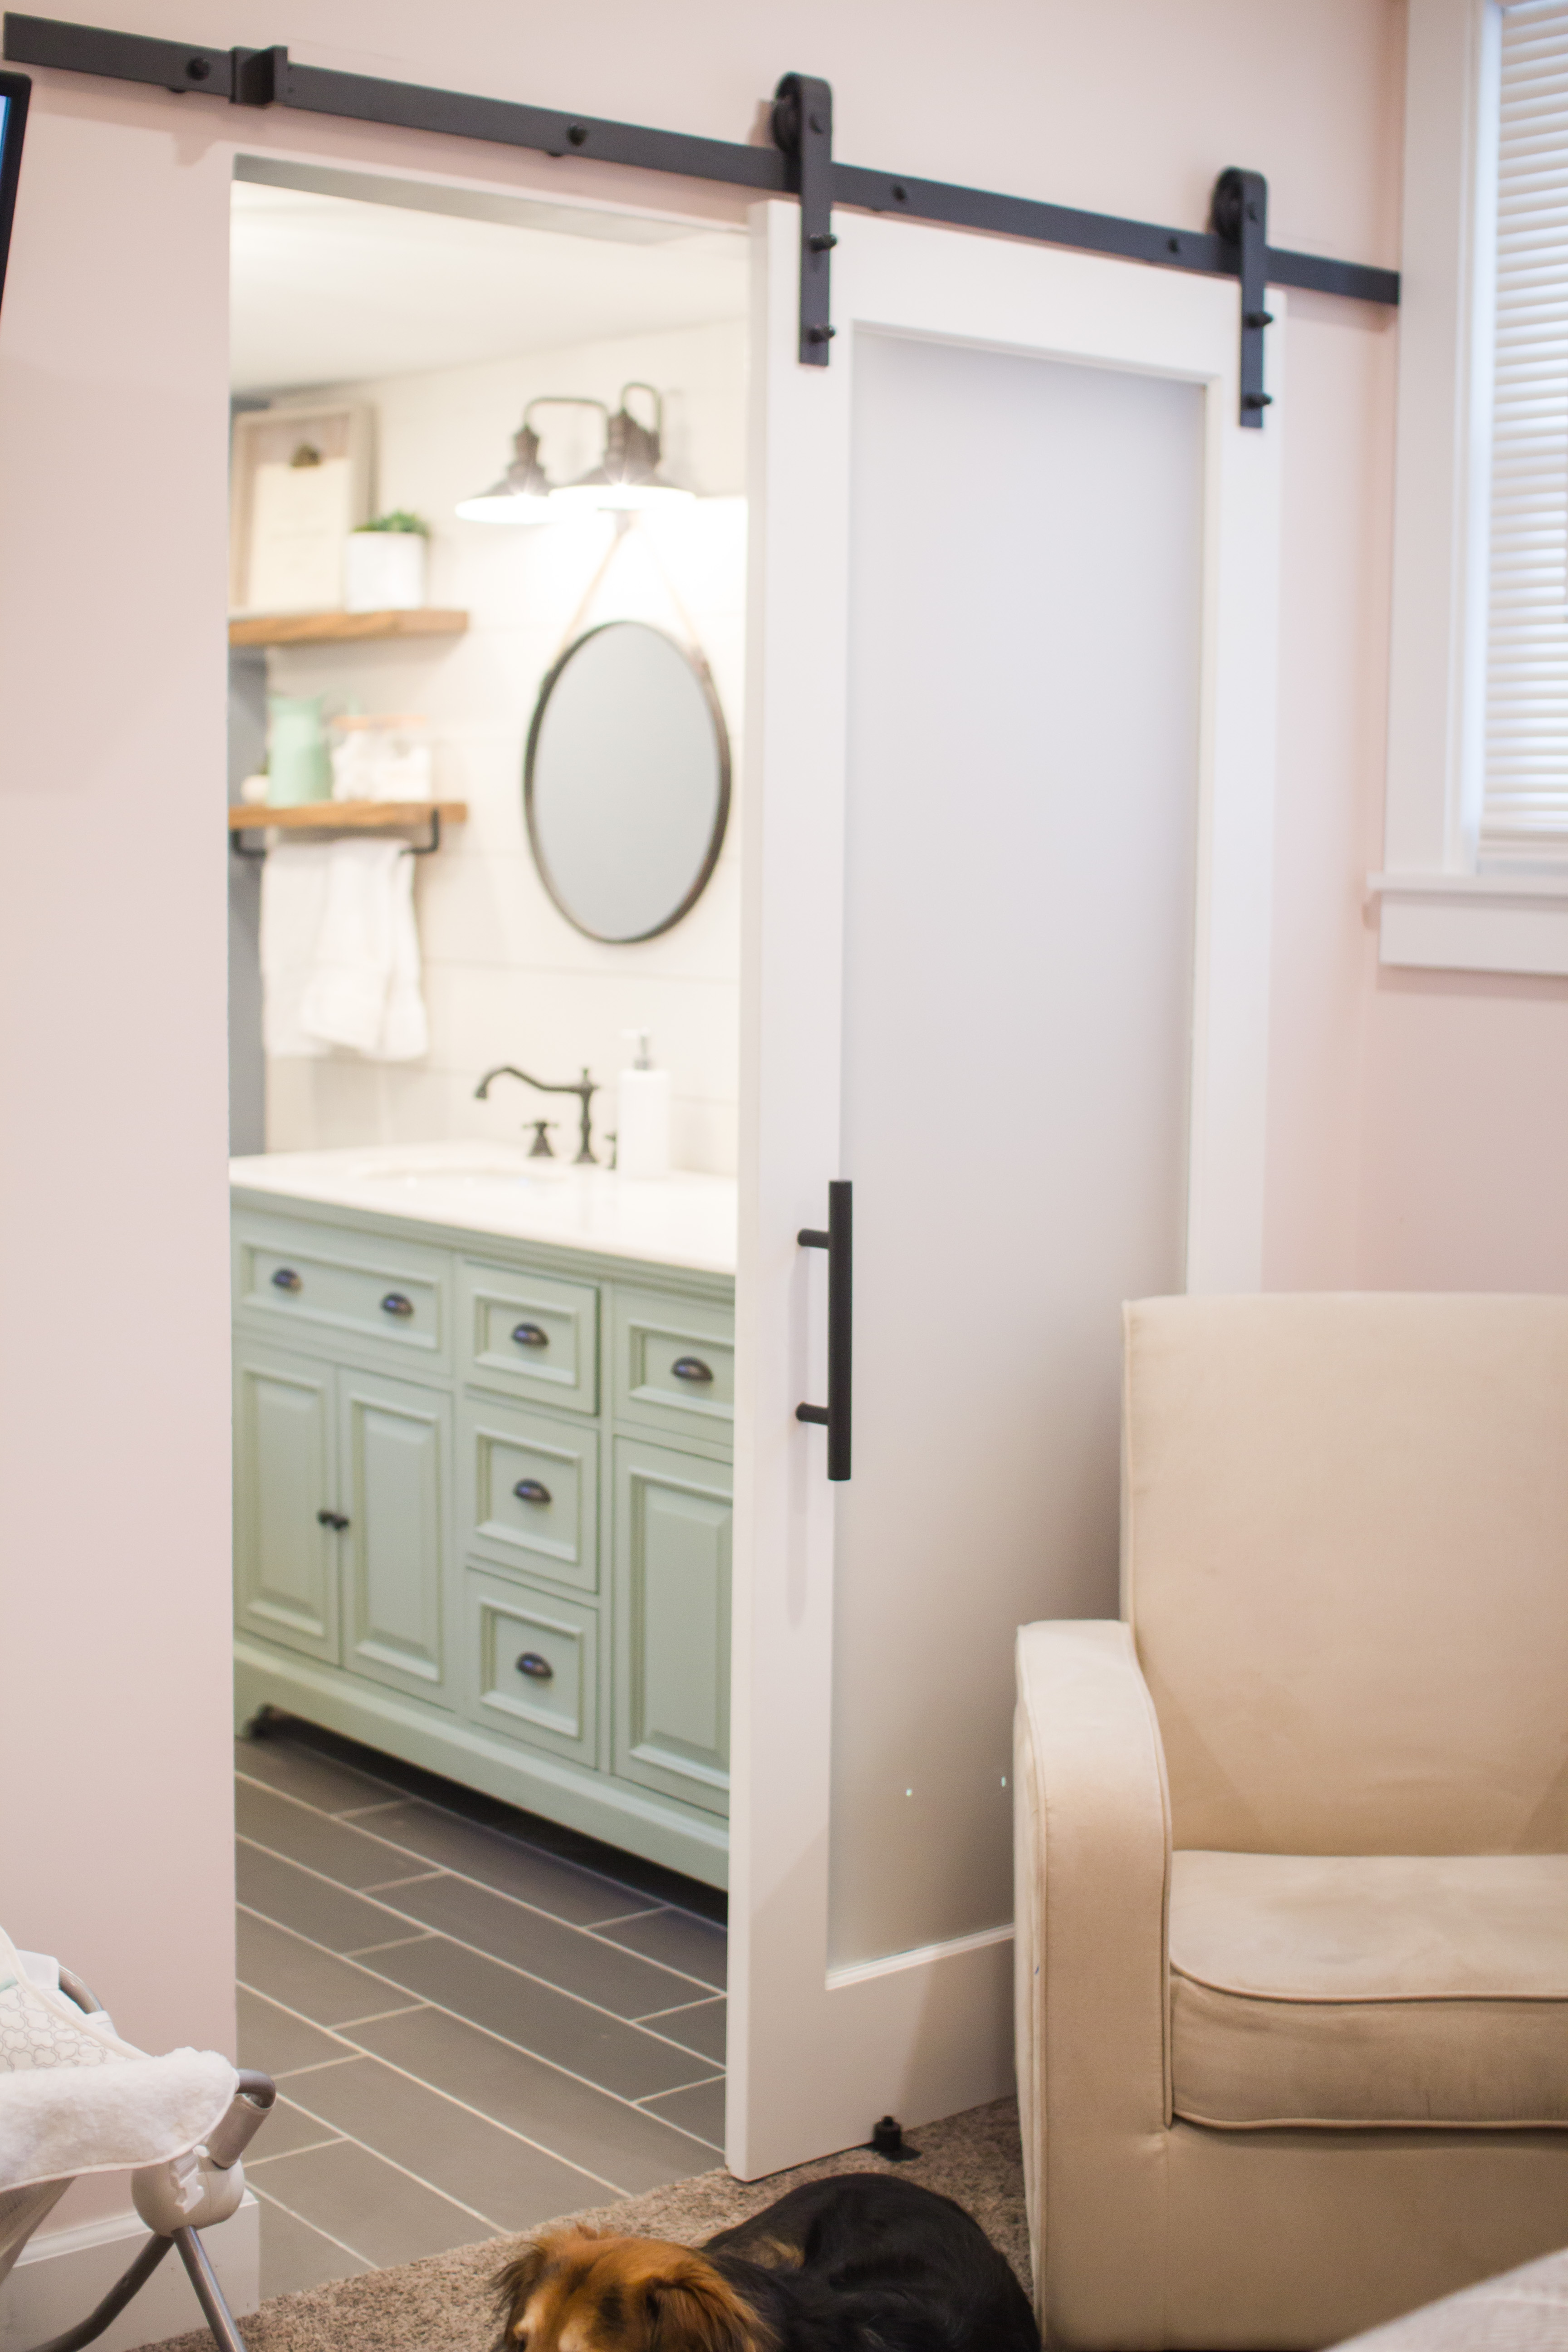
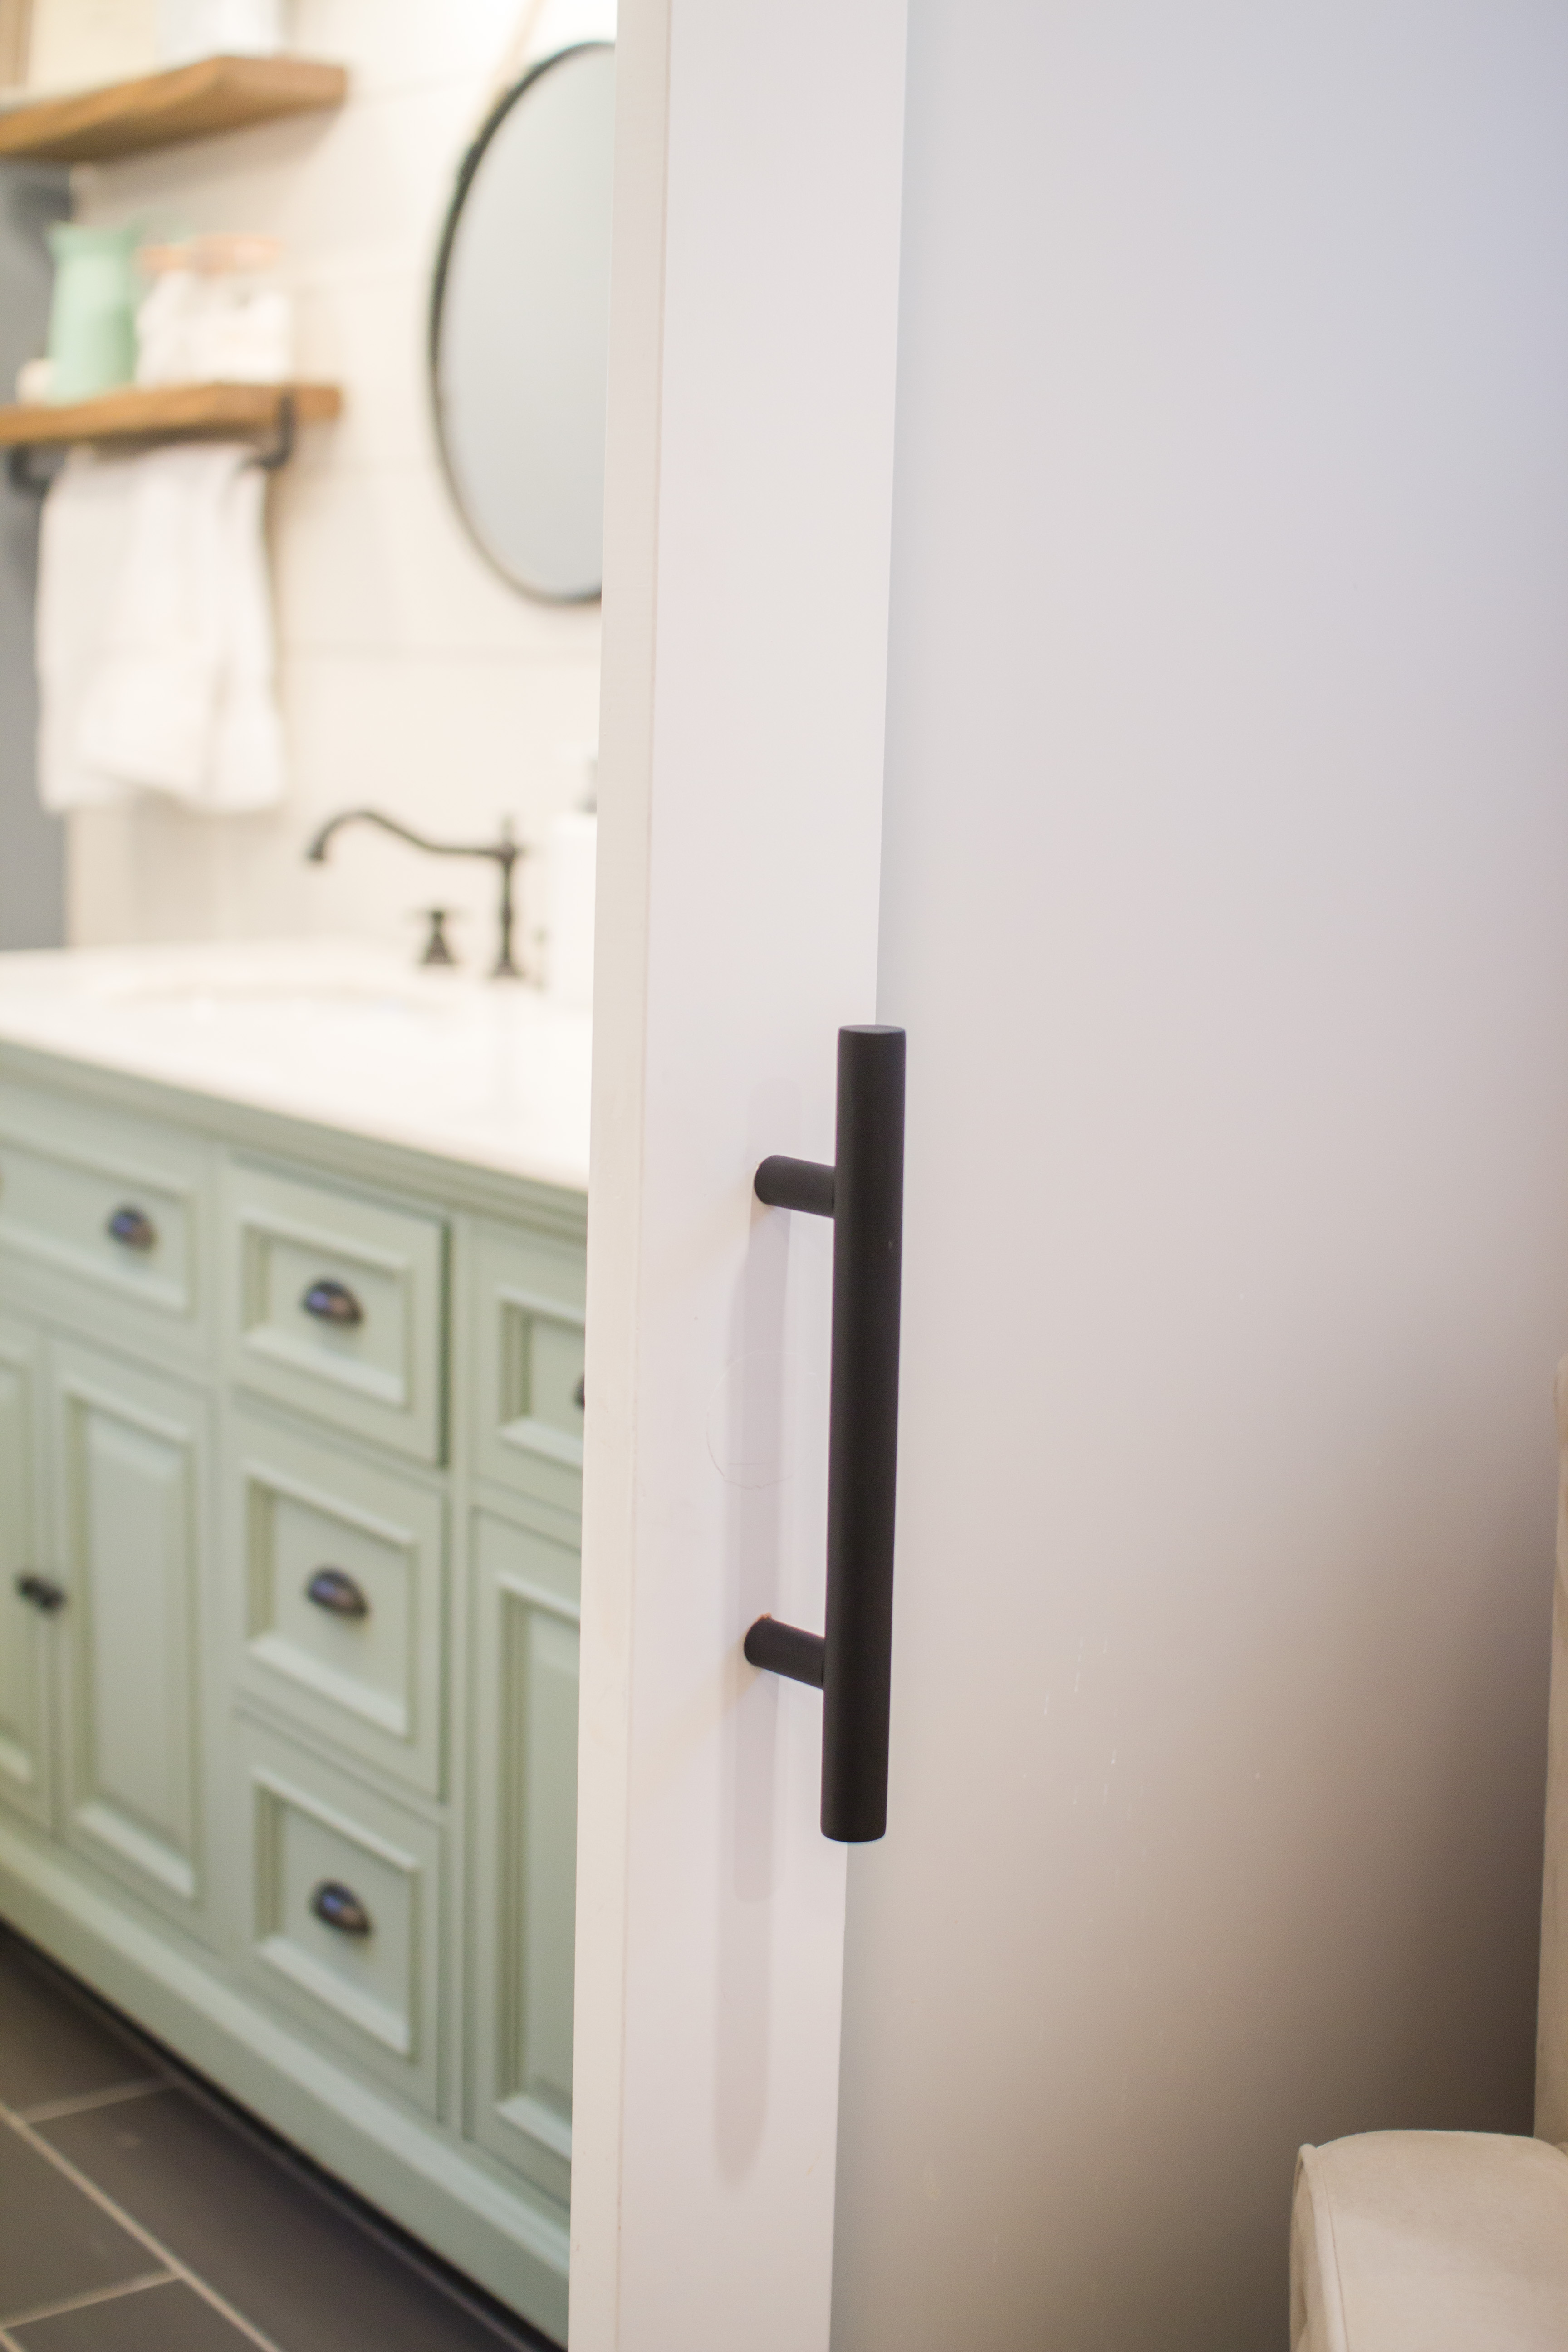
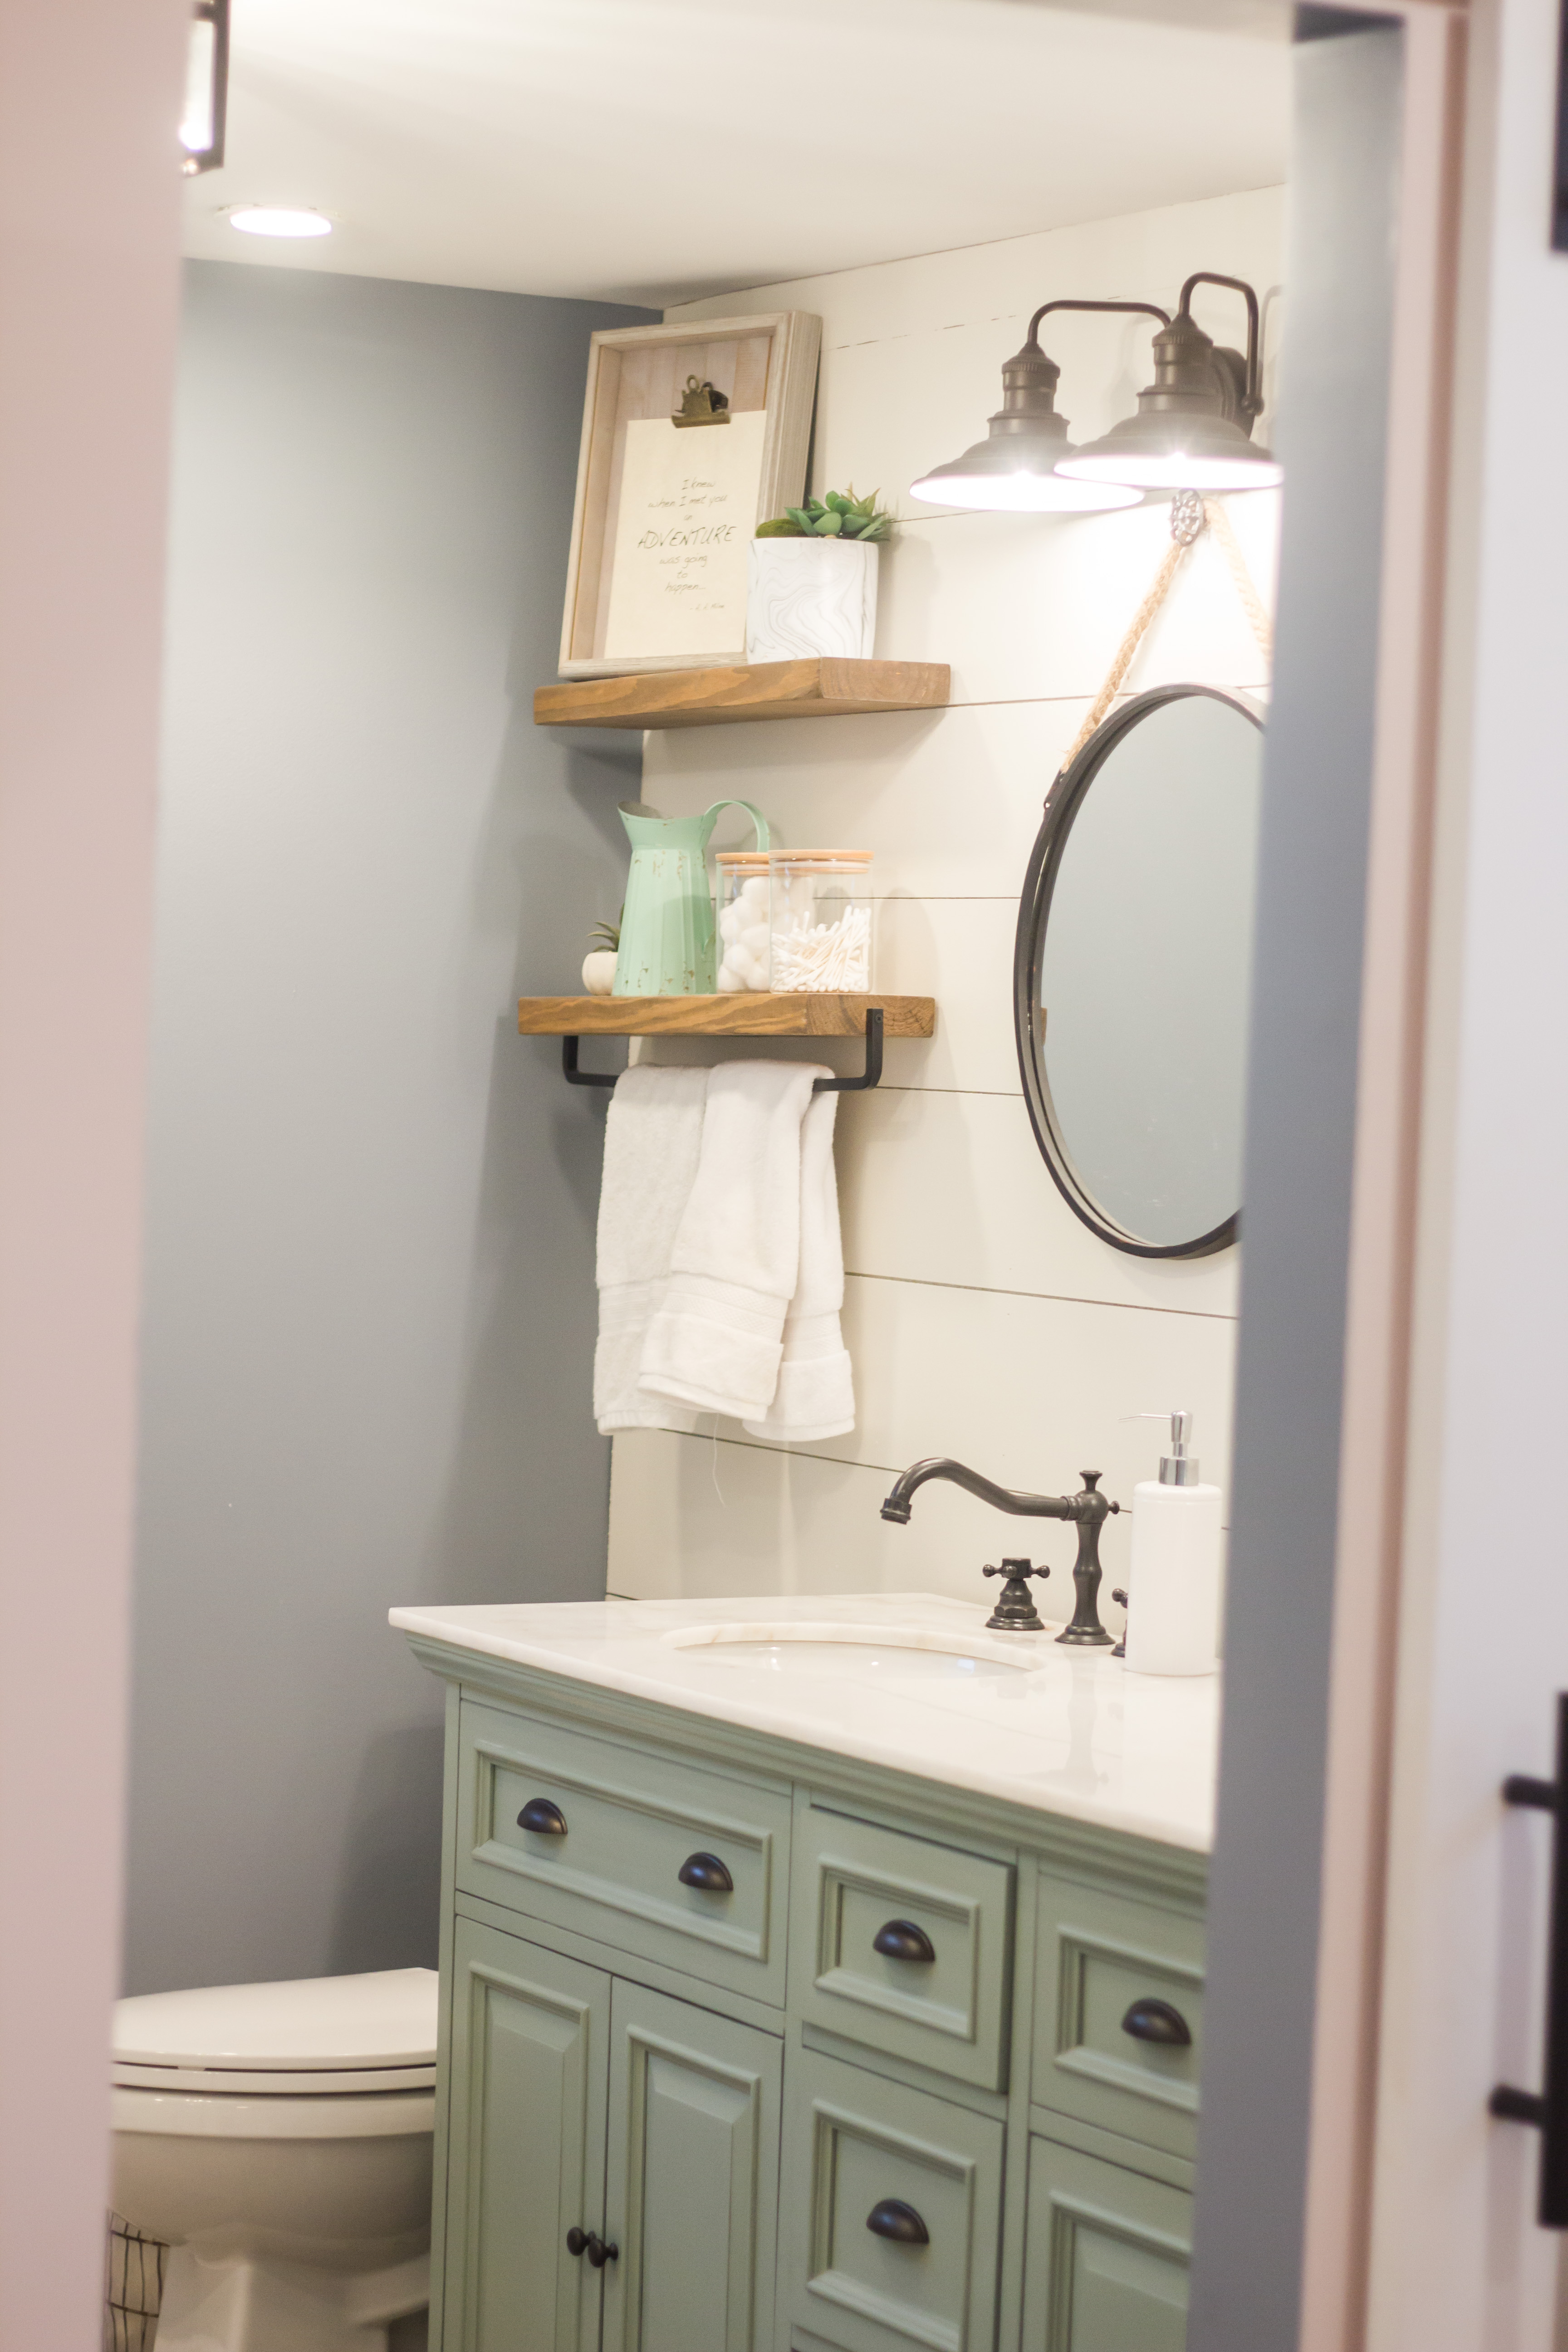
For our master bathroom, we scored HUGE with our big Kohler soaker tub and the gorgeous sea green vanity. We were able to get both for $800. Yes, you read that right. We’ve found a place in Murfreesboro, TN called City Liquidation. They get a bunch of returned items from Wayfair, Home Depot, Lowes, etc. and then re-sell them for slashed prices. Our tub was brand new (and normally retails for $1,600!) and the vanity had a couple of small cracks, but nothing major. I found the glass freestanding shower door at another similar liquidation store called Yard Sale USA. We scored that for $200, saving us about $400! And the gorgeous sea green penny tiles I also found on the Market Place and got a full box for $20!
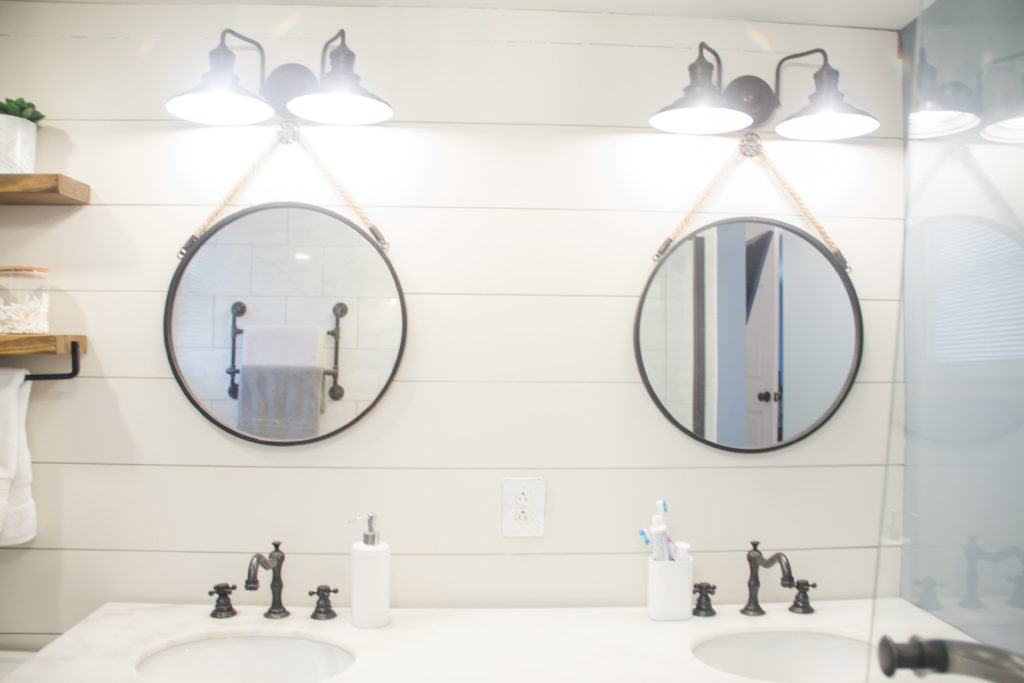
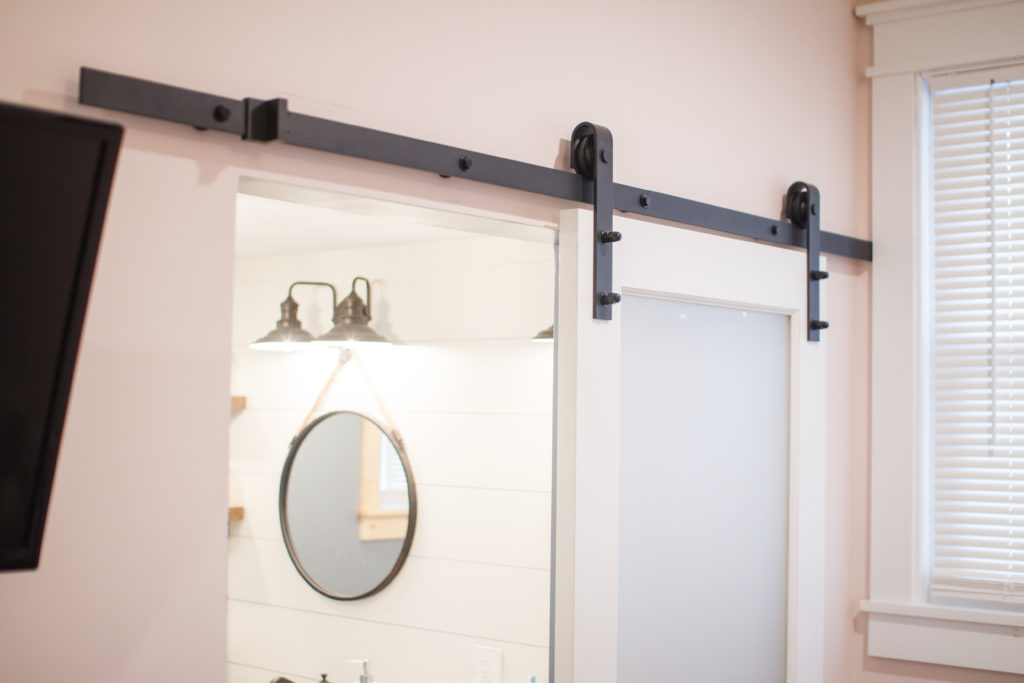
In my heart, I just HAD to have round mirrors for this bathroom. My husband thought I was insane, but I just knew it’d be a cool design element. Did you know they’re super hard to find when you’re on a budget? I got lucky and found these on sale at Kirklands for $20 each! We didn’t know exactly how to hang them, so we bought cool knobs from Hobby Lobby when they were 50% off and used them. They went with our industrial/farmhouse feel.

I found someone on Craigslist selling the flooring tile for a steal. I got it for around $100, with a bag of grout. We found the bull nosed tile for the bathroom shower at the Habitat for Humanity ReStore in Nashville on rainy Saturday. I bought the full box for $10 after finding we could purchase the remaining tile at Home Depot!
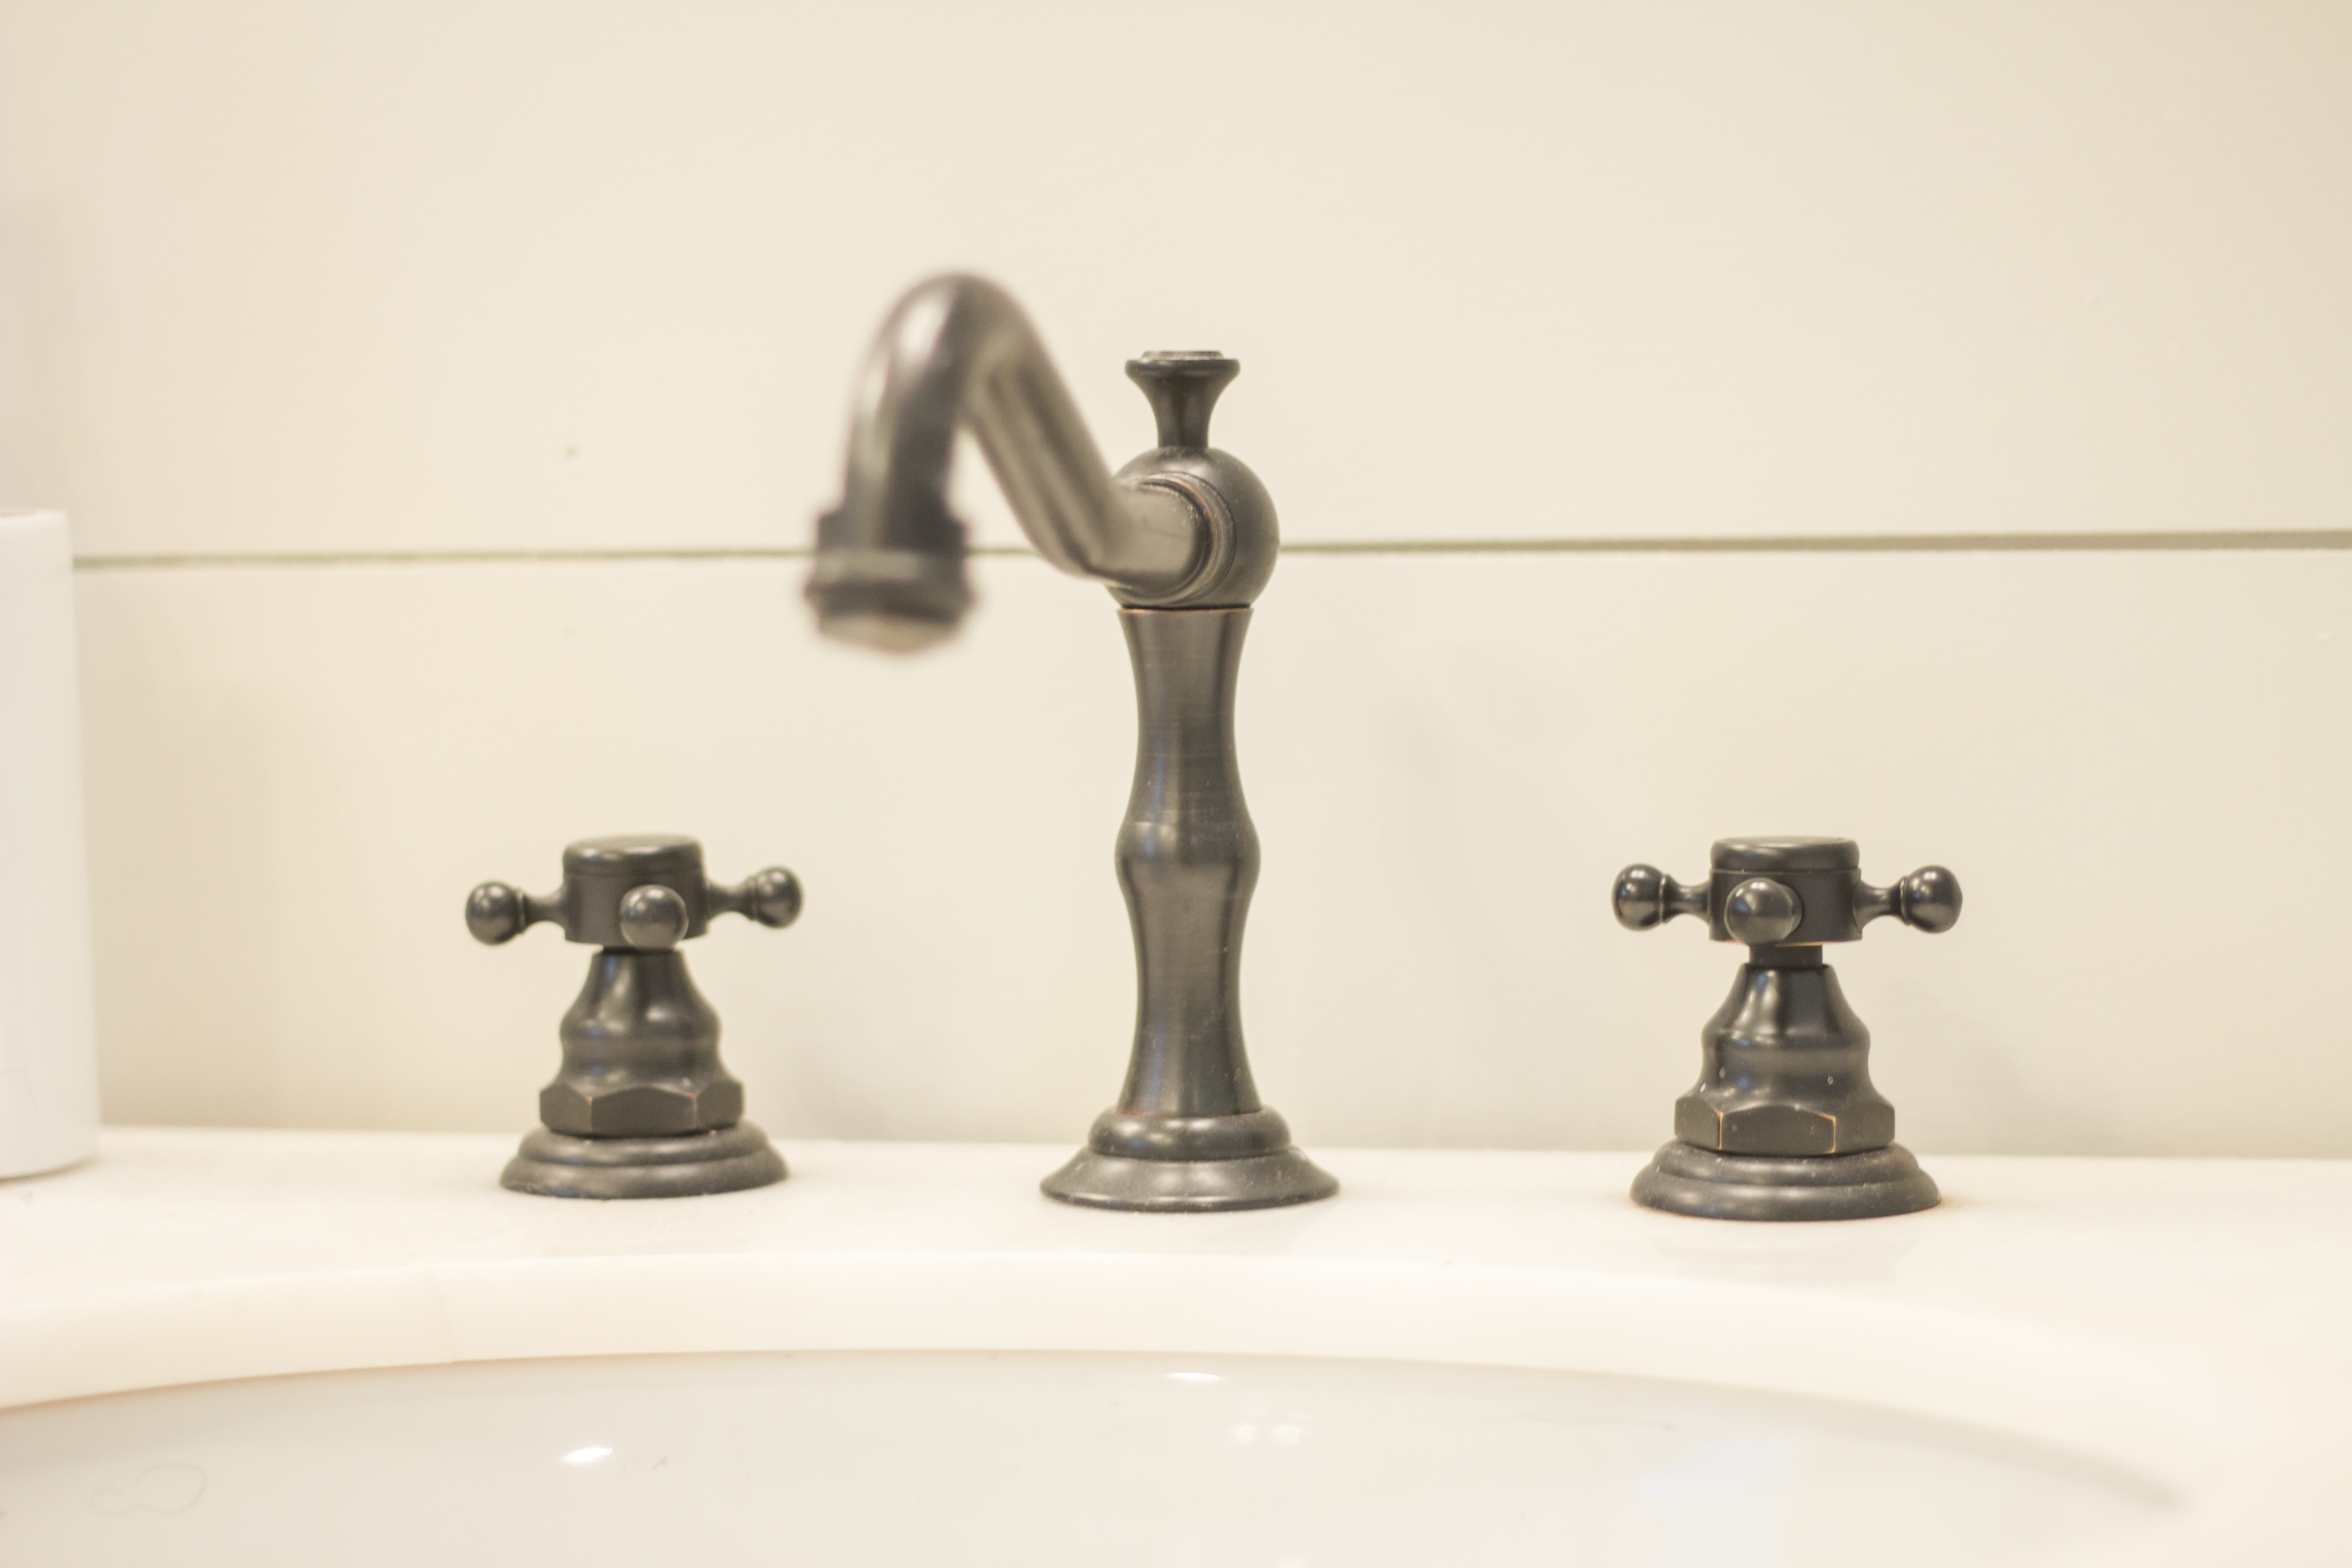
Our sink faucets came from the Facebook Marketplace and we had the lady ship them to us since she lived in East Tennessee. They’re sold on Amazon here.

For the sliding barn door bathroom door, I knew I wanted a frosted glass door for that space to still allow light through. In what was the sketchiest Craigslist meet-up to date, we scored that for $60! It even came with a door handle on it, which we repurposed and put on our closet door, saving us $20 there. We bought the barn door hardware from Amazon here and the door handle here.
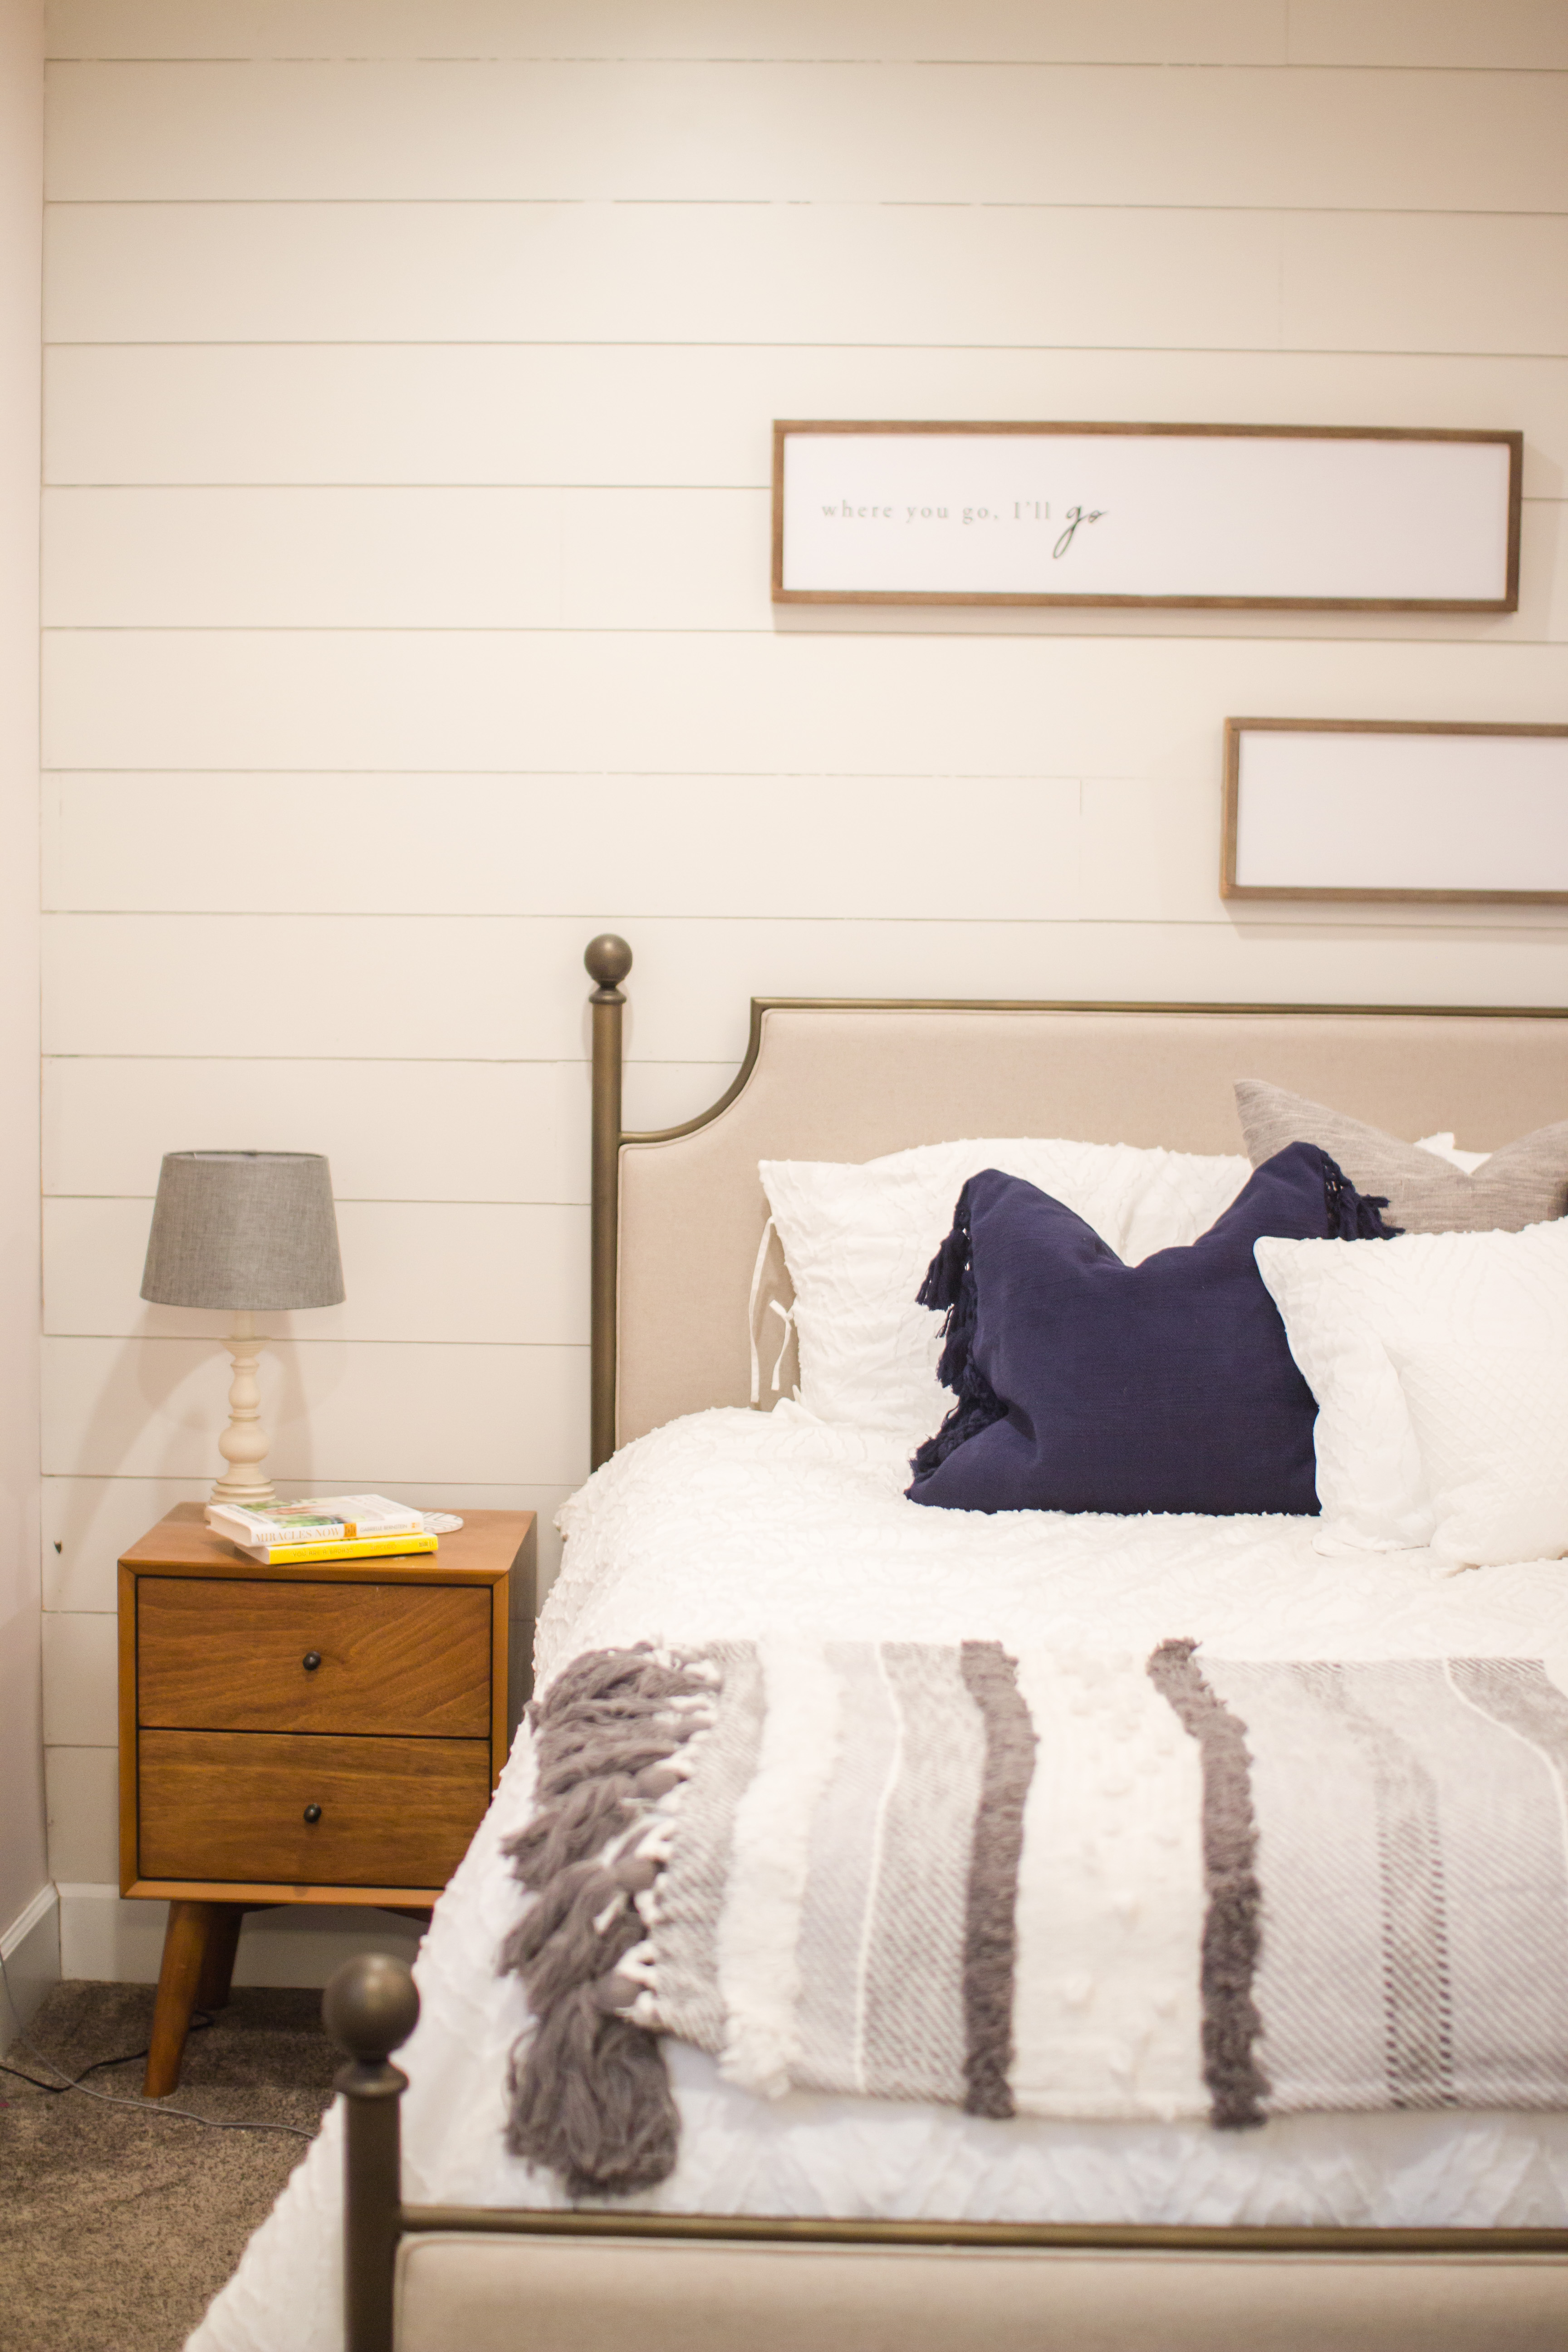
For the bedroom paint, I got lucky and bought it all on a weekend that Ace Hardware was having a BOGO sale! I purchased 4 gallons of paint for the price of two! Imagine the surprise on my husbands face when I came home and told him we were painting this new bedroom he’d worked so hard on light pink. He trusted my vision, and now he at least tolerates it (honestly I’m pretty sure he secretly likes it)!
Have you ever heard of foam crown molding? I hadn’t either. That is, until I found another similar liquidation warehouse in Hendersonville, TN selling the exact amount we’d need for our room! We got our crown molding for $50! The carpet for our bedroom came from Buy Floors Direct in Nashville. Again, another steal for only $250 (including the padding!) We had a third contractor install it because carpet is clearly not on our list of things to do.


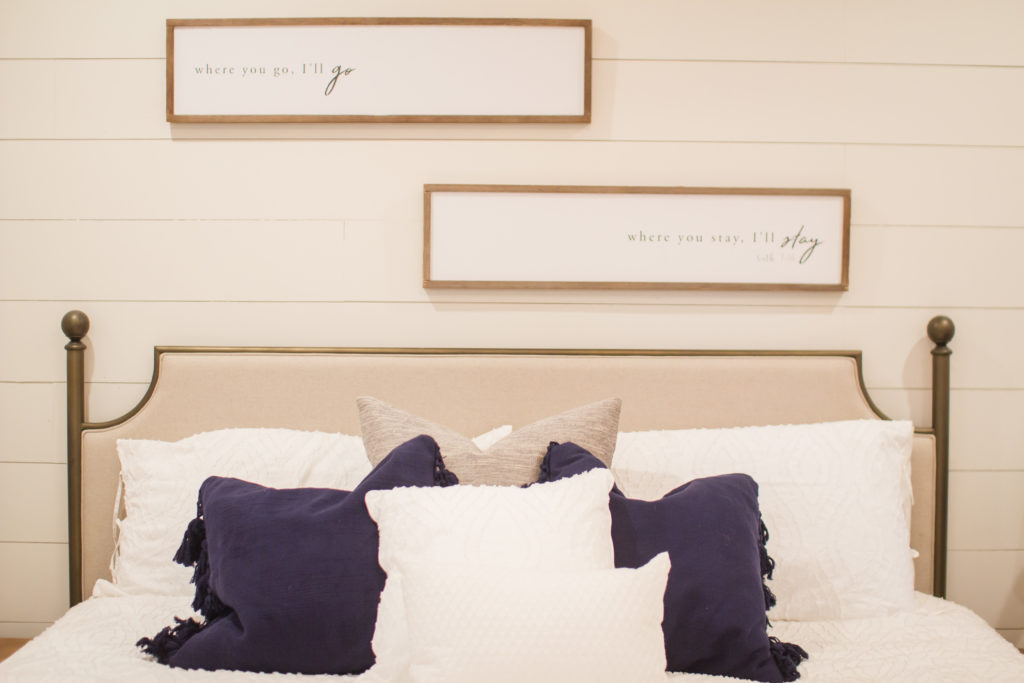
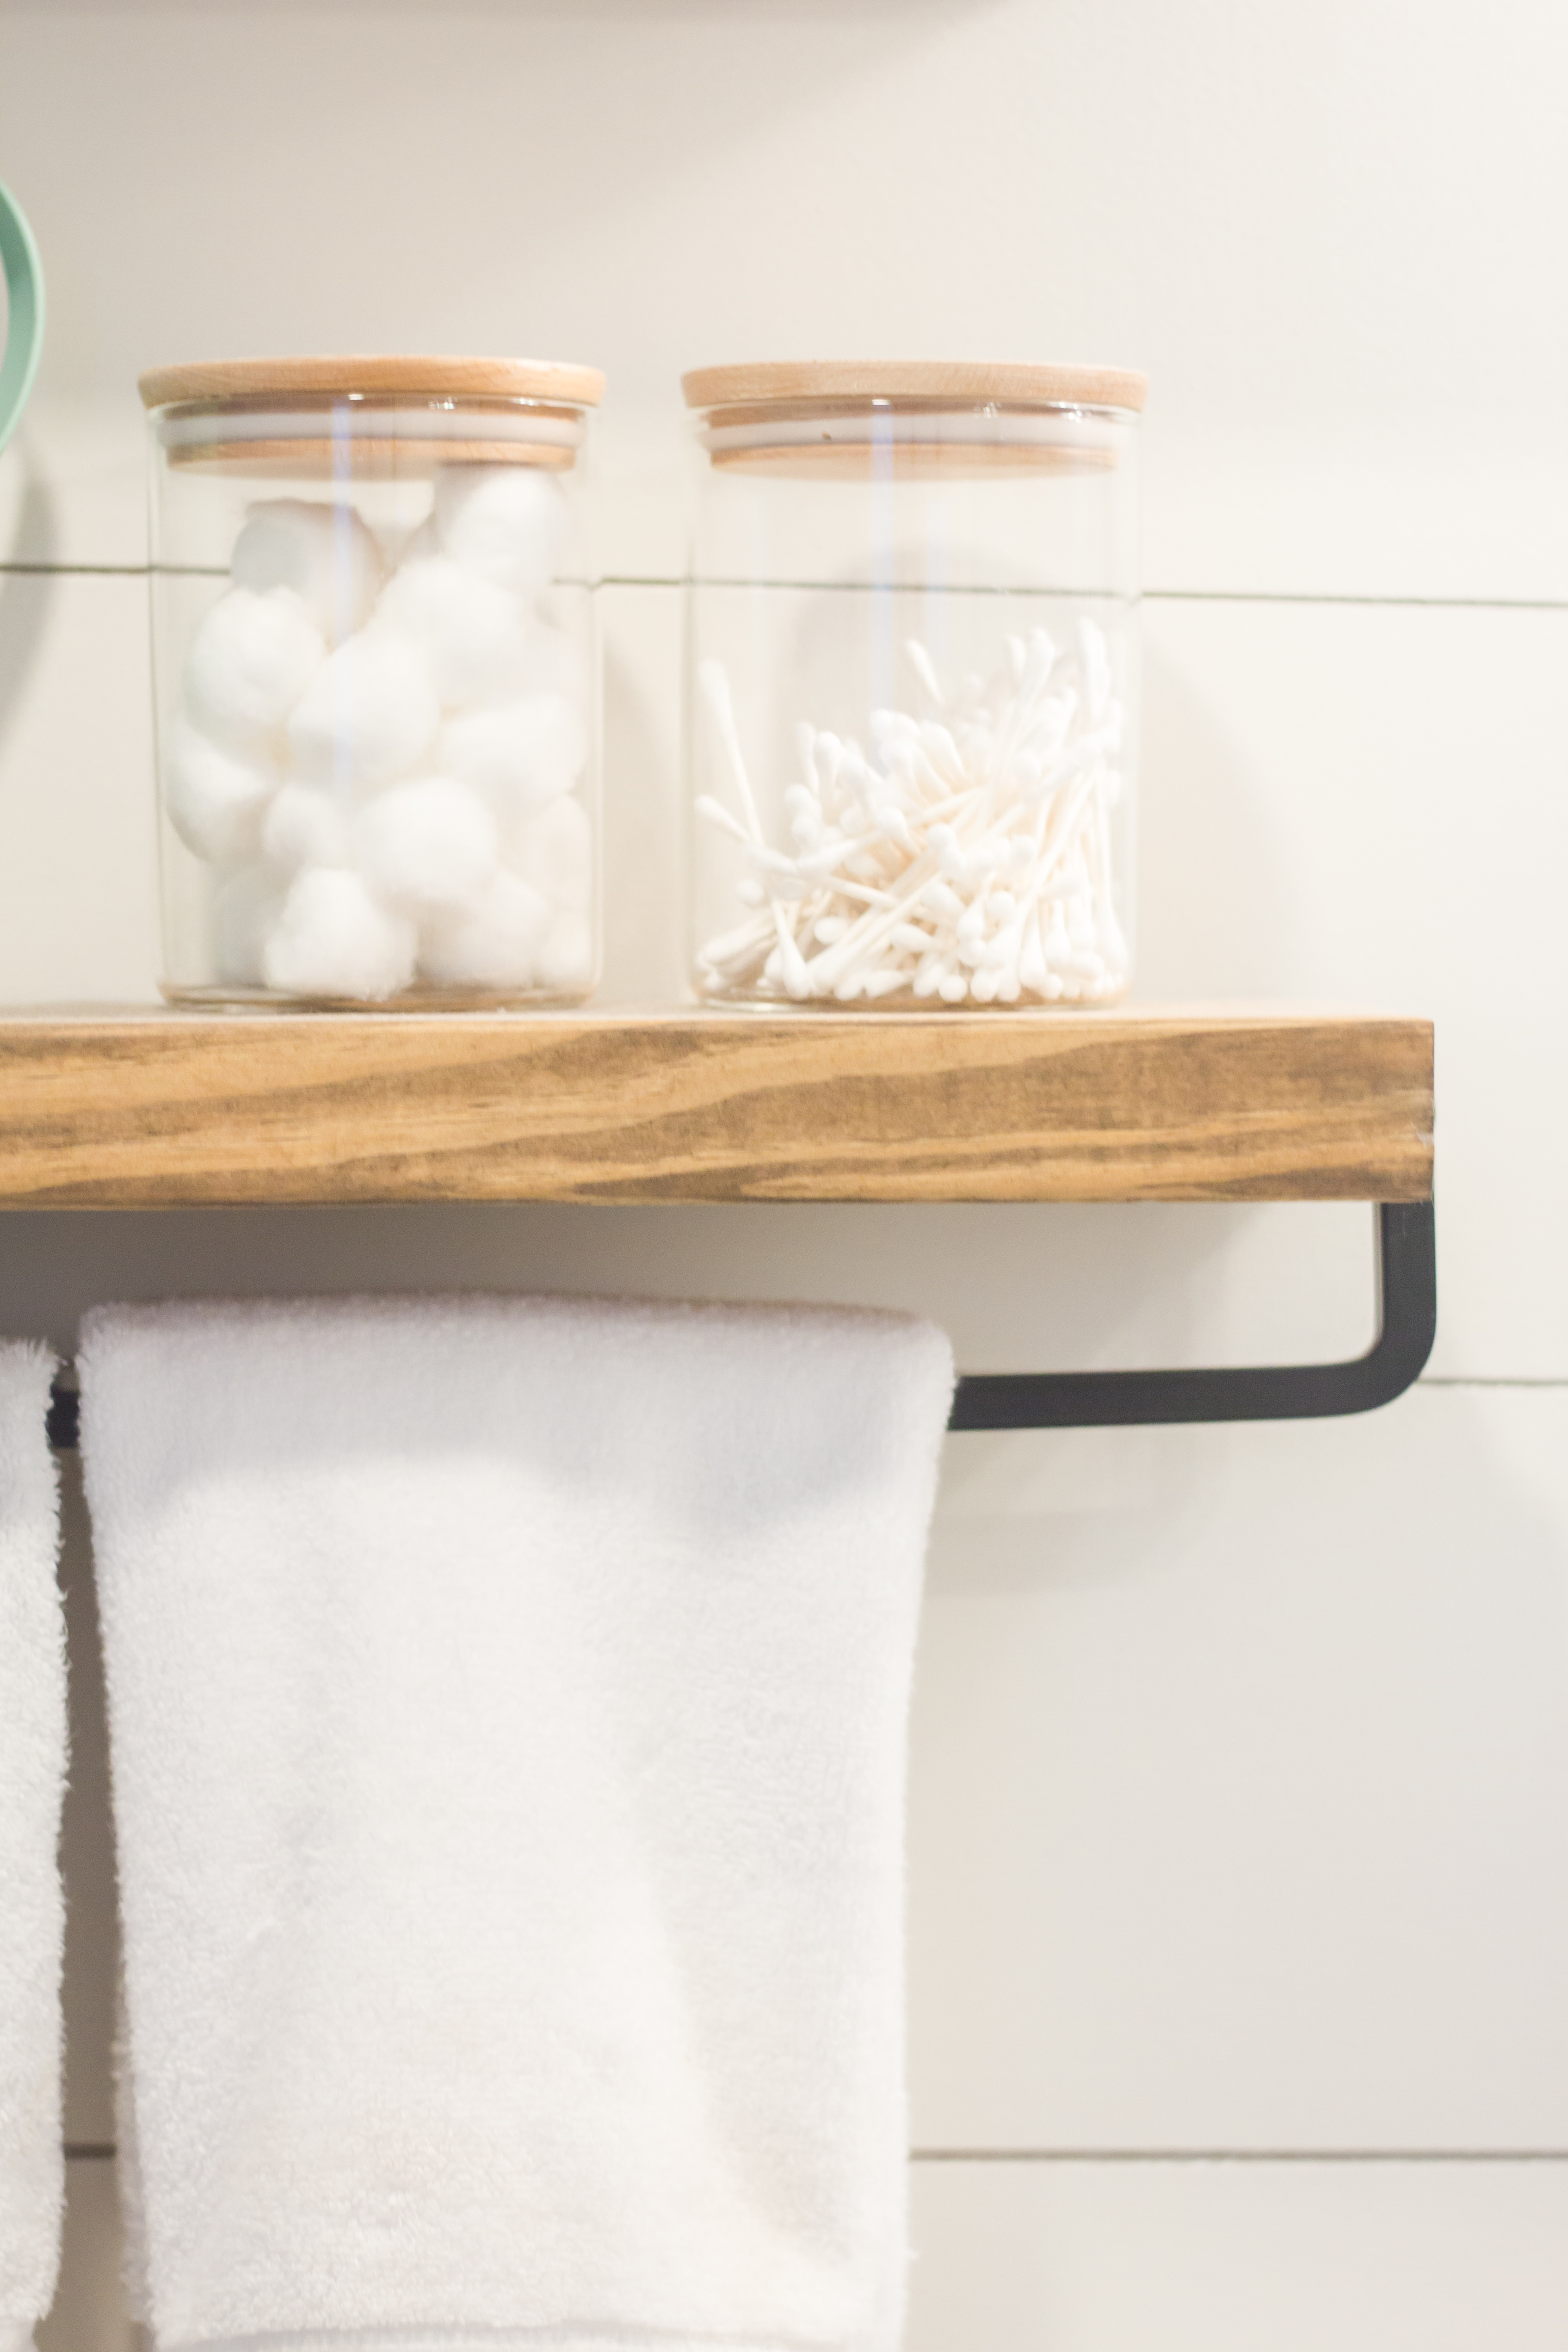
And I can’t finish this blog post without mentioning the MVP of this room…SHIPLAP. Yes, yes, I completely channeled my inner Joanna Gaines (we’re totally BFFs) throughout the room design, but I just had to have it! I love the cozy way it makes it feel, and having it in the bathroom ties it all together. I followed a few tutorials I found on Pinterest here and here, and it’s really pretty easy! We bought the boards of plywood and paid for Lowes to cut them (so they’d be a consistent 7.5″ width). I chose an off white color from Valspar called New York City Winter.

October engagement photos at Cheekwood Estate & Gardens — Nashville, Tennessee There’s something about October at Cheekwood that feels almost cinematic. The light goes golden earlier, the gardens shift into their rich autumn palette, and the whole estate takes on this quiet, unhurried magic — which made it the absolute perfect backdrop for Jon and […]

There are venues that feel like backdrops, and then there are venues that feel like characters in the story. The Estate at Cherokee Dock is the latter — a place so layered with beauty that every turn of the grounds offered something new, something unexpected, something made entirely for photographs. — Rachael Knaak, Harp & […]
There’s something undeniably timeless about weddings at The Hermitage Hotel in Nashville. From the moment you step into the historic lobby, the atmosphere feels elevated, romantic, and deeply intentional. It’s one of those rare Nashville venues that effortlessly blends luxury, history, and warmth in a way that never feels overdone. As a wedding photographer, I’m […]

Some places hold more than memories — they hold the beginning of everything. For Ethan and Veronica, that place was Vanderbilt University. Where It All Began Long before the moment his mom called for me to photograph their Vanderbilt proposal, their story started on campus — woven together through shared experiences, late nights, and the […]

A timeless guide to romantic, intentional proposal locations There’s something about Nashville that makes it the perfect place to begin forever. With a balance of natural beauty, iconic architecture, and understated elegance, the city offers countless ways to create a proposal that feels both meaningful and unforgettable. As a Nashville proposal photographer, I’ve captured dozens […]

When couples start planning their wedding day timeline, one part of the day that often gets overlooked is wedding day bridal portraits. Between hair and makeup, getting dressed, and preparing for the ceremony, it can feel like there isn’t much room left in the schedule. But these portraits are some of the most meaningful photographs […]

entries
popular
view the highlights
Crafting family heirloom images — a refined, intentional style that transcends generations.


